Loading...
12 days
1 Option Available
Everest Photography Trek — 12 Days with Pro Photography Guide
Country
Solukhumbu, Everest Region
Duration
12 days
Group size
Flexible group size
Difficulty
moderate
4.7(15 reviews)
Solukhumbu, Everest Region
Tour Description
Everest Photography Trek: Capture the Roof of the World
Introduction to the Everest Photography Trek
The Everest Photography Trek is a unique Himalayan adventure designed for travelers who want to explore the beauty of the Everest region while capturing extraordinary photographs of mountains, landscapes, wildlife, and local culture. Unlike conventional trekking holidays that focus mainly on reaching a destination, this 12-day experience places photography at the center of the journey. Every walking day creates opportunities to discover beautiful compositions, observe changing mountain light, and capture the atmosphere of traditional Sherpa villages. From the first golden rays illuminating Ama Dablam to the sparkling night sky above the Khumbu, the Everest region offers endless inspiration for photographers. Accompanied by a photography guide familiar with the local landscape, participants can learn to work with natural light, compose dramatic mountain scenes, photograph cultural details respectfully, and improve their technical skills in a high-altitude environment. Whether using a professional DSLR, a mirrorless camera, or a capable smartphone, this trek combines Himalayan exploration, creative learning, and unforgettable photographic opportunities.
Why Choose the Everest Photography Trek?
The Everest region is famous for its towering mountains, dramatic valleys, traditional settlements, and distinctive Himalayan culture. However, capturing these subjects successfully often requires more than carrying a camera. The timing of the light, weather conditions, viewpoint selection, and understanding of the surroundings can make a significant difference to the final photograph. The Everest Photography Trek is designed to give participants more opportunities to observe and photograph these details rather than simply walking quickly between destinations. A photography-focused journey allows additional attention to sunrise, sunset, changing cloud patterns, and the visual relationship between mountains and villages.
Instead of treating every viewpoint as a brief stop, the experience encourages photographers to study the scene, experiment with different compositions, and wait for suitable conditions. A knowledgeable photography guide can help identify promising locations and suggest camera settings according to the environment. Beginners can develop their understanding of composition, exposure, and light, while experienced photographers can explore landscape photography, night photography, and storytelling through portraits. The combination of physical adventure and creative exploration makes this trek particularly rewarding for travelers who want to return home with more than ordinary holiday snapshots.
Golden-Hour Photography at Ama Dablam
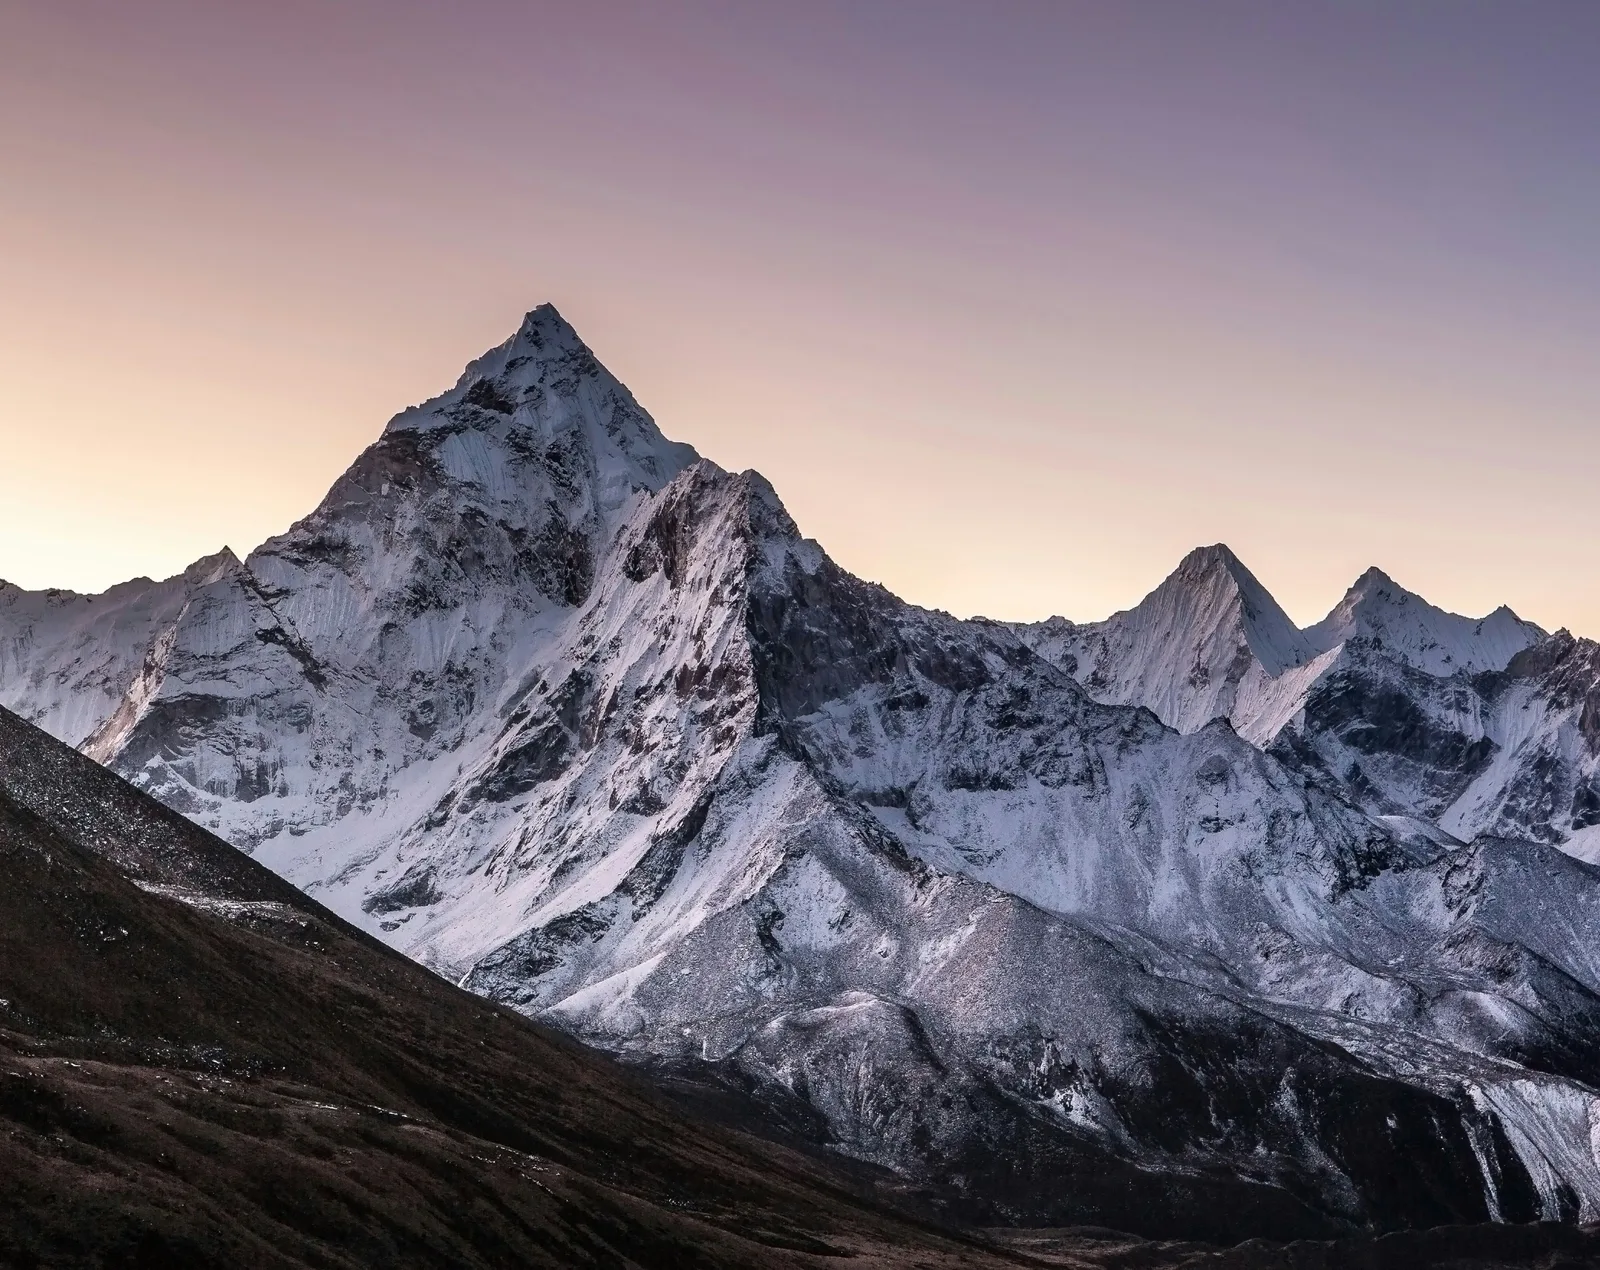
Ama Dablam is one of the most recognizable mountains in the Everest region, admired for its elegant ridges, steep faces, and distinctive shape. Its dramatic appearance makes it a favorite subject for landscape photographers, especially when the first or last sunlight creates warm colors across its snow-covered slopes. During the Everest Photography Trek, viewpoints along the Khumbu trail provide opportunities to photograph Ama Dablam from different perspectives as the surrounding landscape changes with elevation.
Golden hour refers to the period shortly after sunrise or before sunset when sunlight becomes softer and warmer. During these moments, mountain ridges can appear in golden, orange, or pink tones, while shadows create depth across the valleys. Photographers can experiment with wide-angle compositions to include foreground prayer flags, stone walls, or alpine vegetation, or use longer focal lengths to emphasize the mountain's dramatic shape. Patience is important because Himalayan weather can change rapidly. Clouds may cover the summit, and the most attractive light may last only a short time. A photography guide can help participants prepare equipment in advance, identify suitable viewpoints, and understand how exposure settings affect bright snow and darker foregrounds.
Milky Way and Night-Sky Photography Above the Khumbu
The Everest region can offer remarkable opportunities for night-sky photography when skies are clear and light pollution is limited. Away from larger settlements, the darkness of the Himalayan landscape can reveal countless stars, while the Milky Way may appear as a luminous band across the sky during suitable seasons. Higher-altitude locations around the Khumbu can provide striking foregrounds for night photography, including mountain silhouettes, traditional buildings, and glacier landscapes.
Capturing the Milky Way requires careful preparation. A sturdy tripod, manual camera controls, a wide-angle lens with a relatively large aperture, and a reliable way to manage camera settings in cold conditions are valuable. Exposure times must be balanced to record enough light without allowing the stars to become excessively blurred by Earth's rotation. Smartphone users with manual or dedicated night modes may also capture impressive results under favorable conditions. However, a specific Milky Way composition depends on the season, moonlight, cloud cover, and the position of the galactic center. Night shoots should never compromise safety or acclimatization. Participants must dress warmly, follow their guide's instructions, and avoid walking across unfamiliar or icy terrain in darkness.
Tengboche Monastery and Himalayan Buddhist Culture
Tengboche Monastery is one of the most important Buddhist landmarks in the Everest region. Set among beautiful mountain scenery, the monastery offers photographers opportunities to explore traditional architecture, religious artwork, prayer flags, and the relationship between spiritual life and the surrounding Himalayan environment. Its location creates opportunities for compositions that combine cultural heritage with dramatic mountain backgrounds.
Photography here requires sensitivity and respect. Monasteries are active religious spaces rather than ordinary tourist attractions, and access rules may differ between areas. Visitors should ask permission before photographing monks or worshippers, follow restrictions on photography inside religious buildings, and avoid disturbing ceremonies. A guide familiar with local customs can help participants understand appropriate behavior and identify opportunities to photograph permitted architectural and environmental details.
The monastery's setting also offers interesting landscape compositions. The contrast between traditional structures and distant mountain peaks can create powerful images, especially when clouds, changing light, or seasonal vegetation add depth to the scene. Photographers can explore symmetrical compositions around entrances, wider views that include surrounding hills, and close-up details of prayer flags or architectural elements where photography is permitted. Cultural photography becomes more meaningful when it tells a respectful story and reflects an understanding of local traditions.
Sherpa Portraits and Everyday Life in the Khumbu
The Everest region is not defined by mountains alone. Its people, traditions, homes, and everyday activities are essential parts of its identity. Sherpa communities have deep historical and cultural connections with Himalayan trade, Buddhist traditions, mountaineering, and mountain tourism. Photographing village life can therefore add human stories and cultural depth to a collection of landscape images.
Traditional houses, local markets, stone paths, prayer wheels, agricultural activities, and village gathering places can all provide meaningful photographic subjects. With permission, portraits of local residents may reveal individual expressions, clothing, and personal stories that bring a travel portfolio to life. Photography should always be approached respectfully, particularly when children, older residents, religious ceremonies, or private family spaces are involved.
A useful portrait often depends more on communication than expensive equipment. Taking time to introduce yourself, explaining why you would like to make a photograph, and accepting a person's decision are important parts of responsible travel photography. Natural light near a doorway or window can create gentle shadows and add dimension to a portrait without requiring complex lighting equipment. Participants can also learn to tell stories through sequences of images, combining wide photographs of a village with closer images of daily activities and cultural details.
Kala Patthar: A Dramatic View of Mount Everest
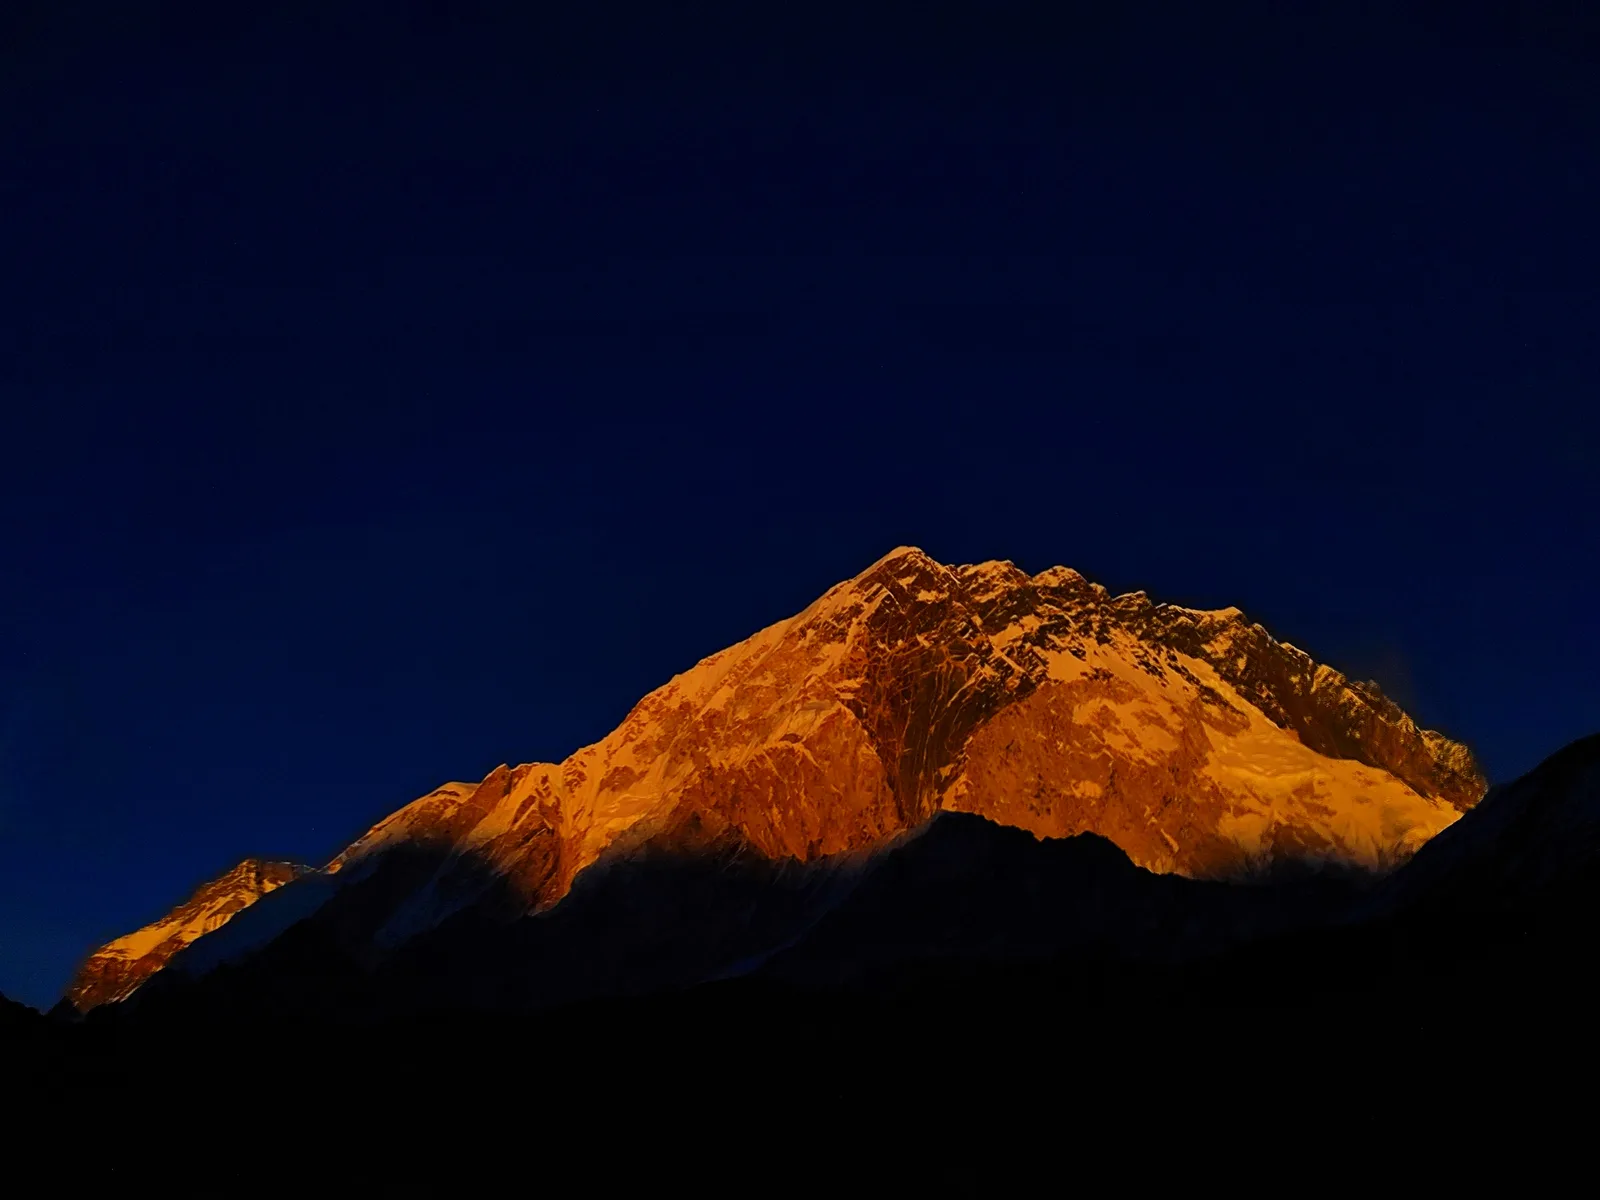
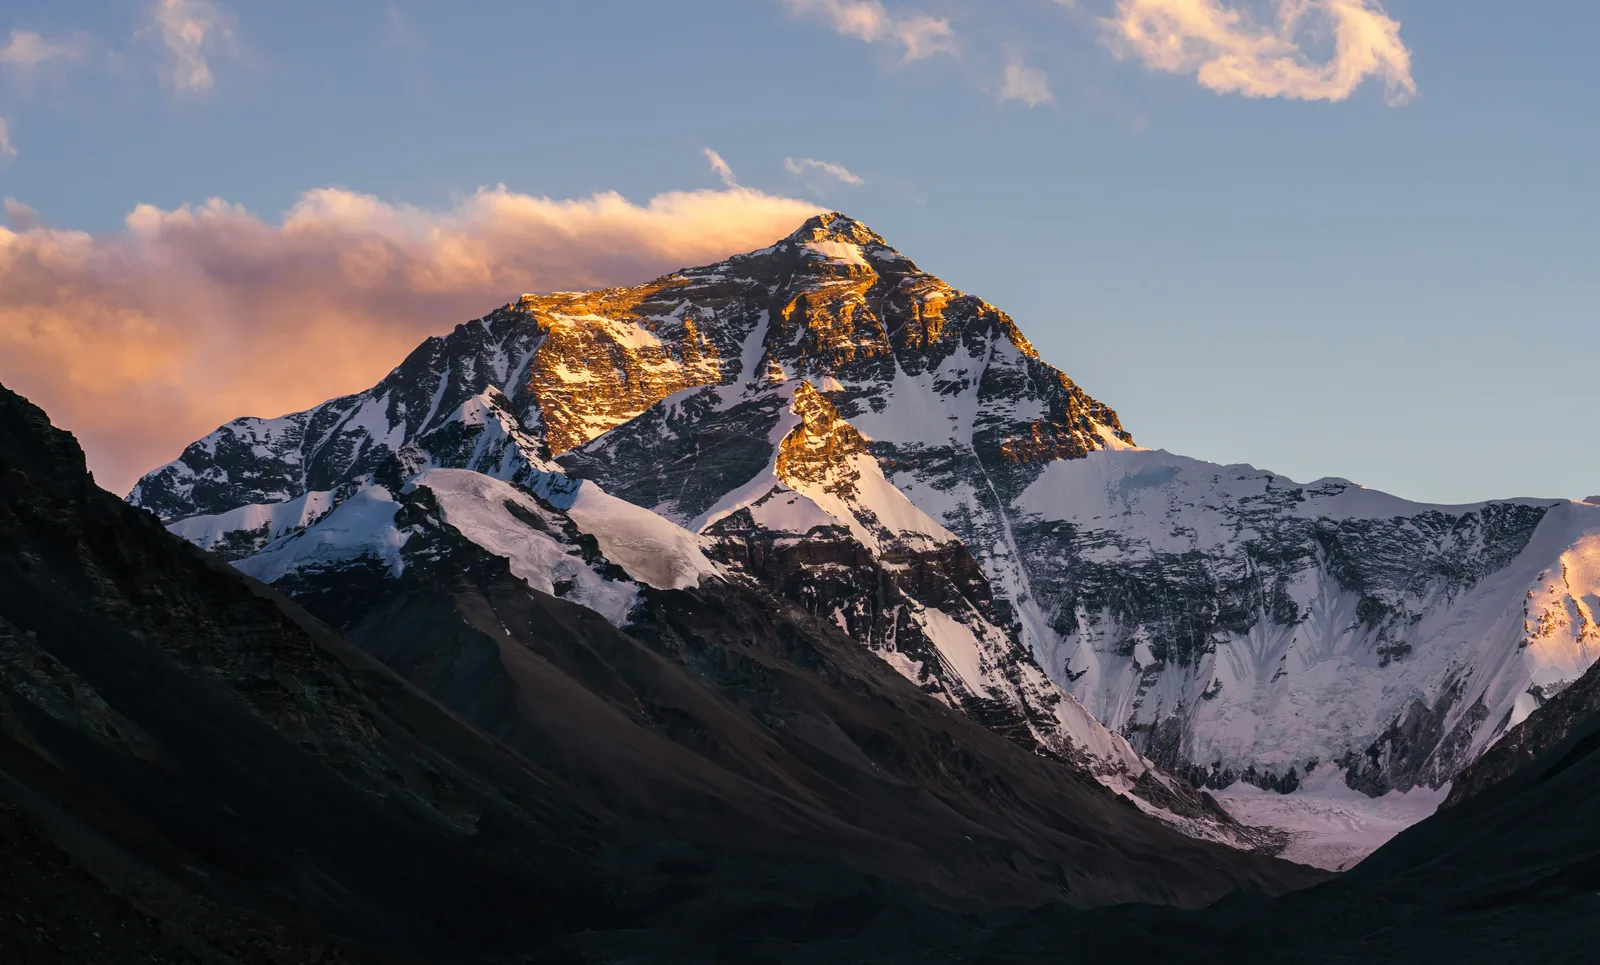
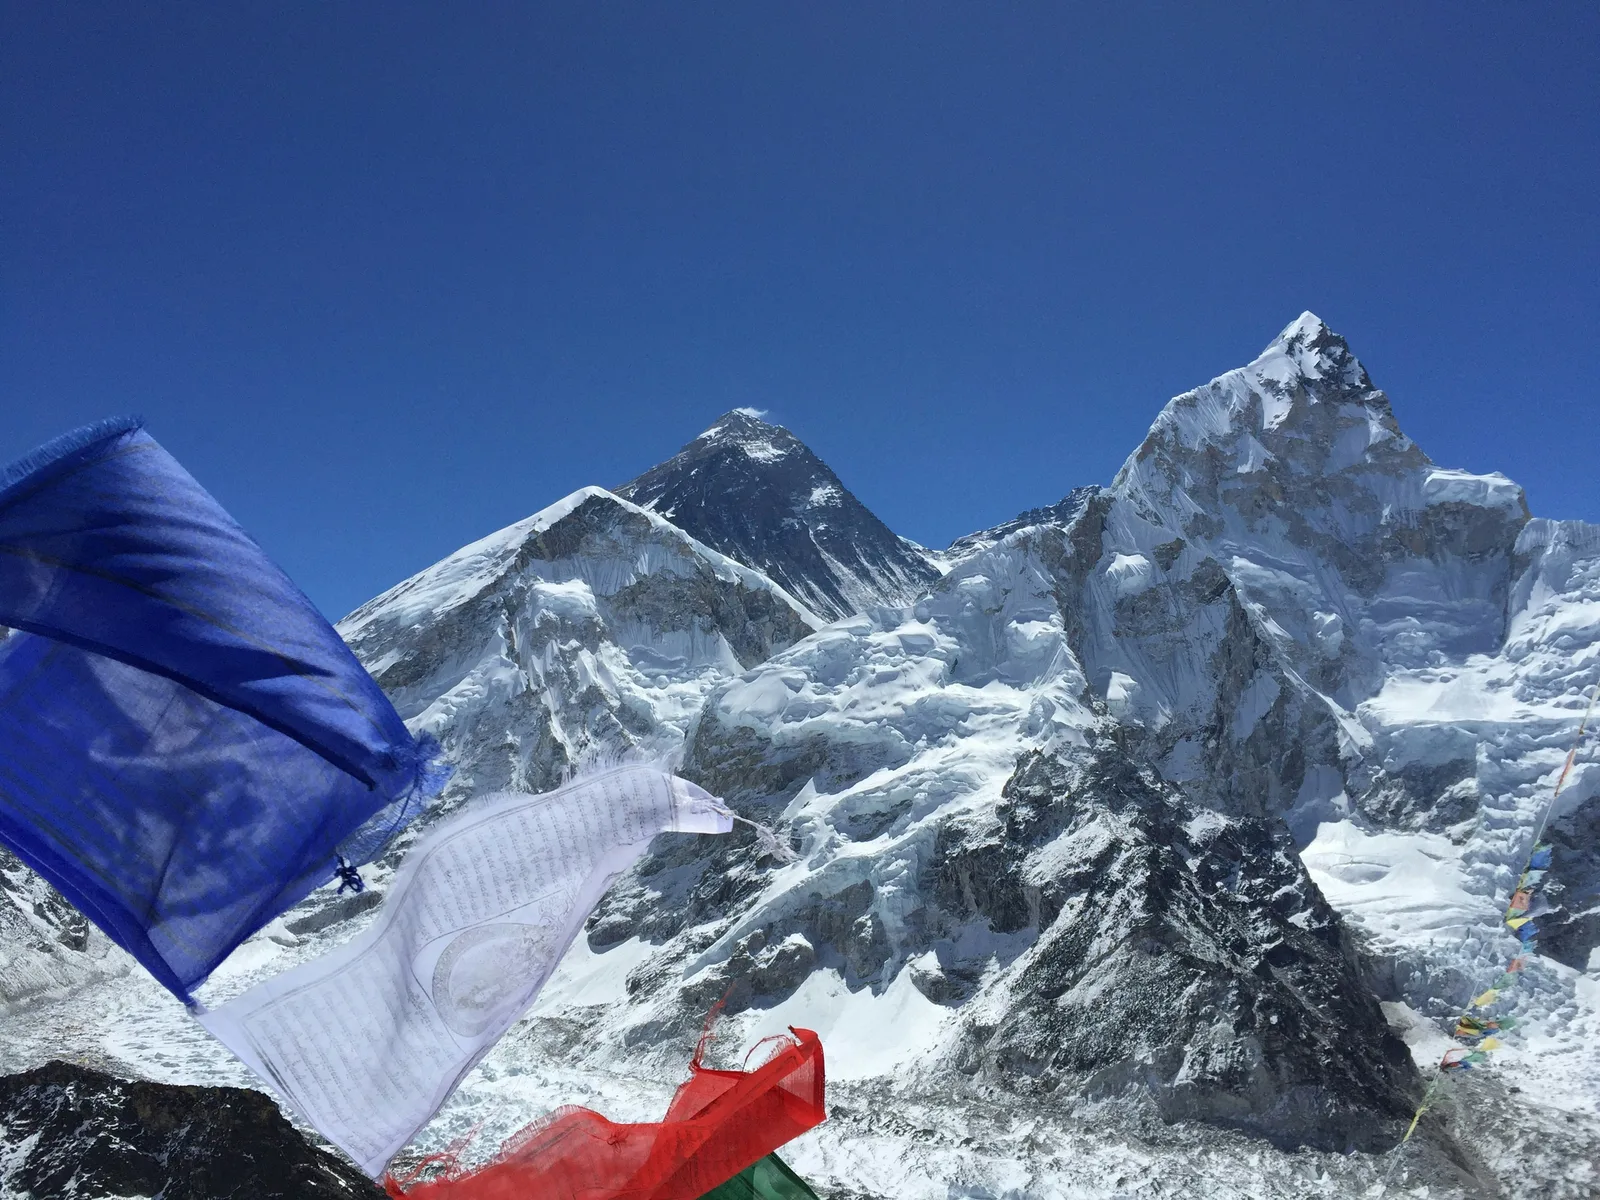
Kala Patthar is one of the most celebrated viewpoints in the Everest region, offering an impressive panorama of Mount Everest and surrounding Himalayan peaks. Its commonly cited summit elevation is approximately 5,545 meters, making it a demanding high-altitude destination as well as a remarkable photographic location. For landscape photographers, the appeal lies in the changing light across the mountain faces. Early morning can reveal delicate colors as sunlight gradually illuminates the peaks, while shadows emphasize the texture of ridges and glaciers.
Photographers can experiment with wide-angle views that capture the scale of the landscape or tighter compositions that emphasize Everest's summit and neighboring peaks. Including foreground rocks or other natural features can create a stronger sense of depth. A tripod may be useful in low light, although carrying equipment at this elevation adds weight and requires careful judgment. The exact appearance of Everest depends on visibility, weather, and the position of the sun, so flexibility is important.
Reaching Kala Patthar requires particular attention to altitude. The climb can feel strenuous even for fit trekkers, and cold temperatures, wind, and reduced oxygen availability can make conditions challenging. Participants should ascend according to their guide's advice and never continue upward if they experience symptoms of altitude sickness. The photographic opportunity is valuable, but personal safety must always take priority.
Photography Skills You Can Develop During the Trek
The Everest Photography Trek provides opportunities to improve practical photography skills in a remarkable natural environment. Rather than focusing exclusively on equipment, participants can learn how to recognize scenes, make creative decisions, and adapt their approach to different conditions. The combination of landscapes, changing light, cultural subjects, and night skies creates a valuable environment for practical learning.
Participants can develop their understanding of composition, framing, and the use of foreground elements in mountain landscapes. They can practice adjusting exposure to preserve details in bright snow and darker shadows, photographing changing light during sunrise and sunset, and using tripods and manual settings for night-sky photography. Other useful skills include creating portraits with natural light, protecting equipment from cold and moisture, and reviewing images to identify improvements in focus, exposure, and composition.
The guide's teaching approach and the amount of individual instruction will depend on the actual trip arrangements. Participants should confirm whether professional photography tuition, image reviews, and dedicated shooting sessions are included in their package. These details help travelers choose an experience that matches their photography goals and level of expertise.
Best Time for the Everest Photography Trek
Spring and autumn are generally popular seasons for trekking in the Everest region. Spring, from March to May, offers changing mountain conditions, longer daylight hours, and the possibility of colorful rhododendron blooms at lower elevations. Autumn, from September to November, often provides clear mountain views after the monsoon, although weather conditions vary each year. These seasons can provide excellent opportunities for landscape photography, but visibility and lighting are never guaranteed.
Winter can offer crisp skies and beautiful snow-covered scenery but brings very cold nights and challenging high-altitude conditions. The summer monsoon may create cloud cover, rain, and reduced mountain visibility, making photography less predictable. Night-sky photography requires additional planning because moonlight and cloud cover affect the visibility of the Milky Way. The best dates depend on the lunar cycle, the season, and the position of the galactic center. Travelers should coordinate photography expectations with their guide before departure and remain flexible when weather conditions change.
What to Bring for the Everest Photography Trek
Packing for this journey involves balancing photography equipment with the physical demands of high-altitude trekking. Carrying too much equipment can make long walking days more difficult, so choosing versatile gear is often better than bringing every available lens and accessory. A camera or smartphone, spare batteries, memory cards, a suitable lens, a protective camera bag, and a compact tripod can provide a useful foundation.
A wide-angle lens is useful for expansive mountain landscapes, while a standard or telephoto lens can help capture distant peaks and selected cultural details. Warm layers, waterproof clothing, insulated gloves, sturdy trekking boots, sunglasses, sunscreen, and a suitable sleeping bag are essential for mountain conditions. A reliable water-treatment method and personal medication should also be included. Camera batteries should be protected from the cold, and equipment should be handled carefully when moving between cold outdoor conditions and warmer indoor spaces to reduce condensation.
The final equipment list should reflect the itinerary, expected weather, personal photography goals, and guidance from the trekking operator. Travelers should also consider the weight of their equipment and carry only what they can comfortably manage during long days on the trail.
Responsible Photography and Sustainable Tourism
Responsible photography is an important part of visiting the Everest region. The mountains, monasteries, and villages are not simply photographic subjects; they are part of a living environment where people work, worship, raise families, and maintain long-standing traditions. Visitors should seek permission before making portraits, respect restrictions at religious sites, and avoid interrupting ceremonies for a photograph.
Drones may be subject to local restrictions and aviation requirements, so their use should never be assumed to be permitted. Visitors should remain on established trails, avoid disturbing wildlife, and carry their rubbish back out of the mountains. Supporting local businesses and following community guidance can help tourism contribute positively to the region. A thoughtful photographic approach can produce stronger images while demonstrating respect for the people and places being photographed.
Conclusion: Capture the Beauty of the Everest Region
The Everest Photography Trek offers a distinctive way to experience the Himalayas through the art of photography. From the golden light illuminating Ama Dablam to the traditional Buddhist architecture of Tengboche, the cultural stories of Sherpa villages, and the dramatic mountain panorama from Kala Patthar, the Everest region presents an extraordinary range of photographic subjects. With suitable preparation, an experienced guide, and a thoughtful approach to composition and local culture, participants can develop their photography skills while enjoying one of Nepal's most celebrated trekking destinations.
More than a journey to famous viewpoints, this 12-day adventure encourages travelers to slow down, observe changing light, and appreciate the details that make the Khumbu unique. Whether the goal is to build a landscape portfolio, explore astrophotography, or document meaningful cultural encounters, the Everest Photography Trek combines creative discovery with the unforgettable experience of walking among the world's highest mountains.
Highlights
What's Included
What's Not Included
Not Suitable For
Important Information
What to Bring
Know Before You Go
Not Allowed
Detailed Itinerary
Day 1Arrival in Kathmandu — Gear Check & Briefing
Your guide meets you at Tribhuvan International Airport and drives you about 6 km through Kathmandu’s busy streets to your hotel. After checking in, rest and settle, then take a short walk if you want to feel the city’s light and color. In the evening, you meet your photography guide for a full briefing on the shoot plan, covering the best light, key locations, and how altitude and cold affect your camera. Together you audit your gear, including batteries, memory cards, filters, and cold-weather protection. A welcome dinner closes the day, leaving you prepared and excited for the mountains.
Meals:dinnerStay:hotel
Day 2Fly to Lukla, Trek to Phakding (2,610m)
Take the famous mountain flight of about 138 km to Lukla, and sit on the left side for the best Himalayan views. The runway is short and sloping, and the landing is a story in itself. From Lukla, walk about 8 km down the Dudh Koshi valley to Phakding, a gentle trek of three to four hours. In the afternoon, shoot mani stones, spinning prayer wheels, and swaying suspension bridges, and look for the small details that tell the story of the valley. It is an easy first day that lets you warm up your eye before the bigger light ahead.
Trekking: 3-4 hours
Meals:all mealsStay:teahouse
Day 3Trek to Namche Bazaar (3,440m) — Blue Hour Shoot
Walk about 11 km in six to seven hours, crossing the high Hillary Suspension Bridge before the long climb into Namche Bazaar at 3,440m. Stop on the bridge for a long exposure of the river far below, and take your time through the pine forest of Sagarmatha National Park, where soft light filters through the trees. Settle in, then head out for the evening shoot. At blue hour, the lights of the village glow against the darkening peaks, and Namche’s amphitheater setting makes a striking frame. Bring a tripod and warm layers for this magical session, and keep your spare batteries inside your jacket.
Trekking: 6-7 hours
Meals:all mealsStay:teahouse
Day 4Namche Dawn + Everest View Hotel Golden Hour
Begin with a dawn shoot over Namche as the first light touches the rooftops and the surrounding ridges turn from grey to gold. Then hike about 8 km round trip to the Everest View Hotel at 3,880m, a trek of four to five hours that also serves as your acclimatization. Walking high and sleeping low helps your body adapt to altitude. In the afternoon golden hour, shoot Everest, Lhotse, and Ama Dablam from the terrace, when the low sun brings out texture on the ridges. Use a telephoto lens to compress the peaks and a wide lens for the valley below.
Activity: 4-5 hours
Meals:all mealsStay:teahouse
Day 5Trek to Tengboche (3,860m) — Monastery at Golden Hour
Walk about 10 km in five to six hours to Tengboche at 3,860m, home of the classic image: the monastery with Ama Dablam rising behind it. The trail drops to the river and climbs through quiet rhododendron forest, so keep your camera handy for moss, mist, and shafts of light between the trees. In the afternoon, photograph the prayer ceremony, always with respect and quiet, and ask your guide before you point a lens at the monks. Then, as sunset lights the surrounding peaks, enjoy a golden-hour shoot in one of the most photographed places in the Khumbu.
Trekking: 5-6 hours
Meals:all mealsStay:teahouse
Day 6Tengboche Dawn + Trek to Dingboche (4,410m)
Rise early for dawn alpenglow on Ama Dablam from the monastery ridge, when the summit turns pink for just a few minutes. After the morning shoot, trek about 11 km to Dingboche at 4,410m through Deboche and Pangboche, a walk of five to six hours. As the trees thin out, the landscape opens into the wide Imja Valley. In the evening, photograph stone walls, yak trains, and Island Peak catching the last light. The air is thinner now, so move slowly, drink plenty of water, and keep your camera batteries warm inside your jacket, since the cold drains them quickly.
Trekking: 5-6 hours
Meals:all mealsStay:teahouse
Day 7Acclimatization Day — Nangkartshang Ridge Shoots
Hike about 5 km round trip to Nangkartshang ridge, at 4,900m and above, for commanding views of Makalu and a ring of giant peaks. The climb takes four to five hours with photo stops and helps your body adapt to altitude before the higher days ahead. Go slowly and carry a lens for distant ridges. In the afternoon, join a portrait session in Dingboche village with local families, arranged respectfully through your guide. Ask permission, share the photos afterward, and take time to talk. Soft afternoon light on weathered faces and stone doorways makes for strong images. It is a rewarding day for both landscapes and people.
Activity: 4-5 hours
Meals:all mealsStay:teahouse
Day 8Trek to Lobuche (4,940m) via Thukla Memorials
Walk about 8 km in five to six hours along a windswept valley to Thukla, where you photograph the climbers’ memorial chortens, one of the most moving subjects in the Khumbu. Photograph with care and quiet, since this is a place of remembrance for climbers and Sherpas. Continue to Lobuche at 4,940m, with Nuptse growing larger as you climb. In the evening, the west face of Nuptse glows red at sunset, directly across from where you stay. Watch the light change on the glacier moraine as the shadows lengthen. Set up your tripod early, layer up, and rest soon afterward, because tomorrow is a long and important day.
Trekking: 5-6 hours
Meals:all mealsStay:teahouse
Day 9Everest Base Camp (5,364m) + Milky Way Shoot
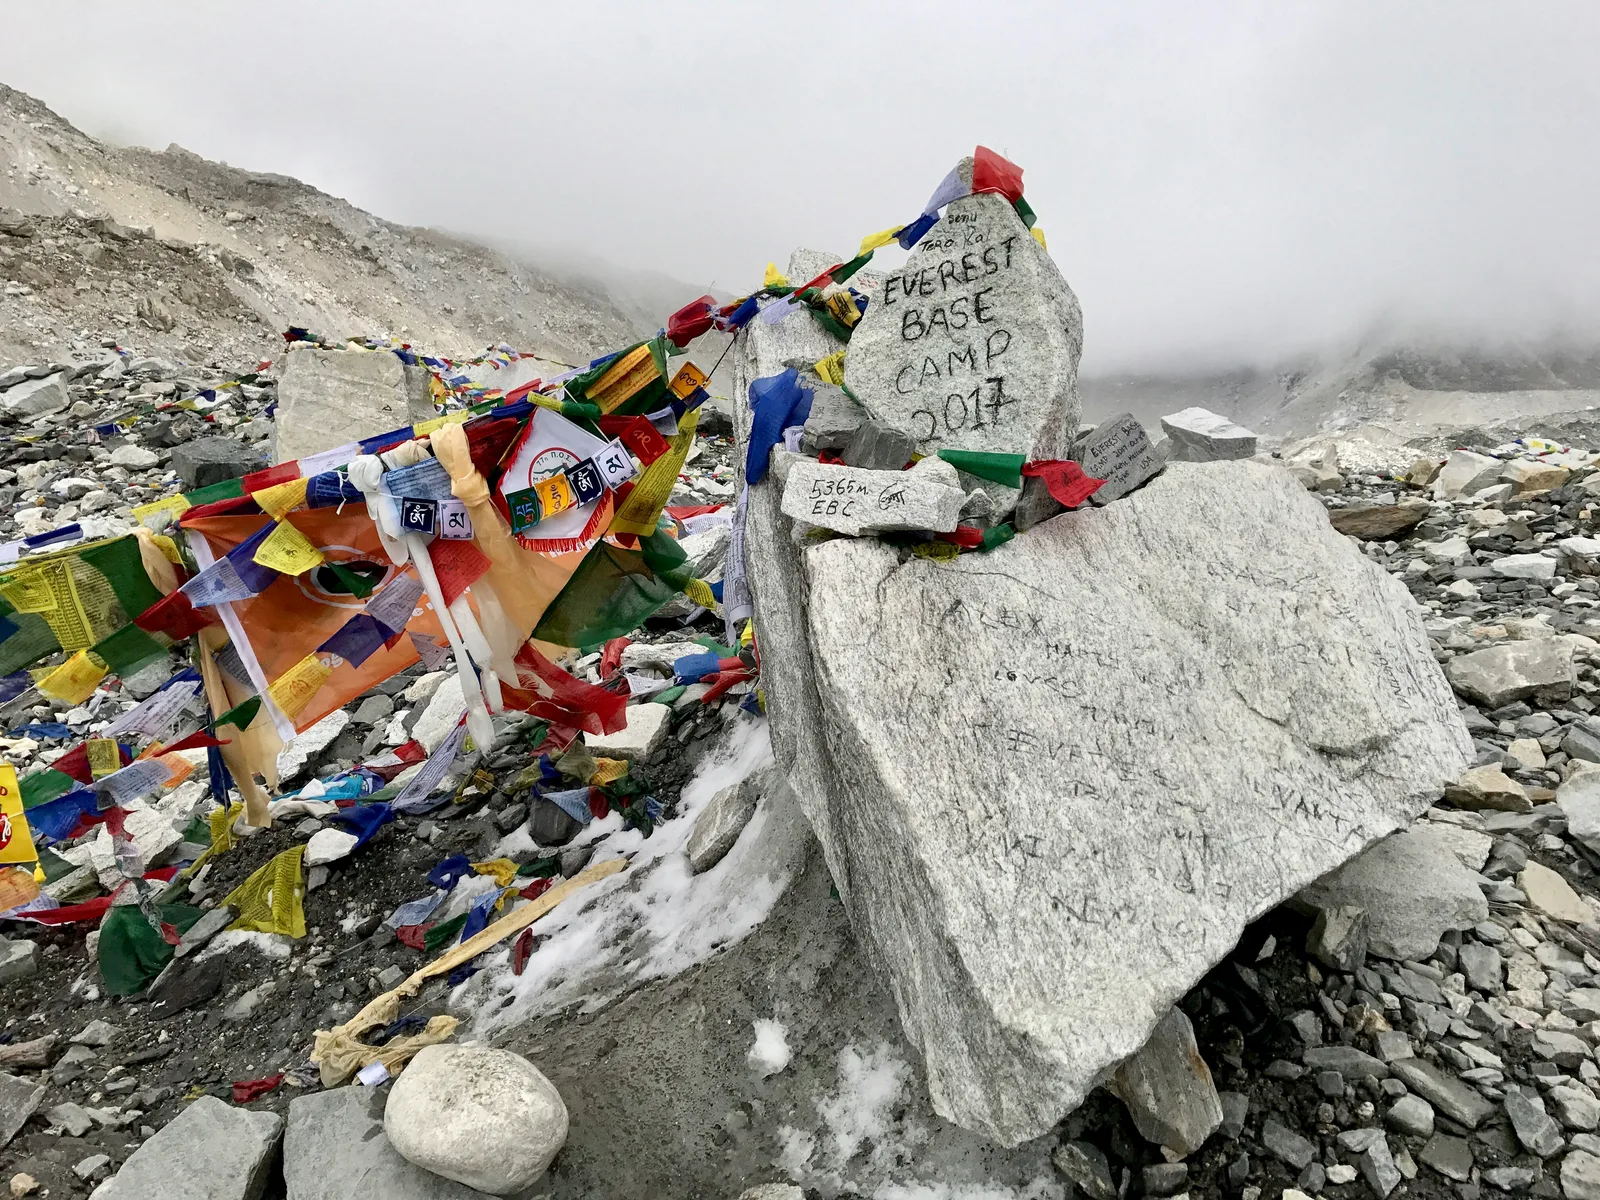
This long day covers about 15 km and takes seven to eight hours. Trek to Gorak Shep at 5,140m, then continue to Everest Base Camp at 5,364m to photograph the Khumbu Icefall and the colorful expedition tents. Take your time, because the thin air makes every movement slower, including changing lenses. Return to Gorak Shep for the night. If the weather allows, shoot the Milky Way rising over Everest and Nuptse at 5,140m, the shot of a lifetime. Dress warmly, bring a tripod, and keep spare batteries close to your body, because temperatures drop far below freezing after dark.
Trekking: 7-8 hours
Meals:all mealsStay:teahouse
Day 10Kala Patthar Sunrise (5,545m) + Descend to Pangboche
Start in the dark with the climb to Kala Patthar at 5,545m for first light on Everest’s summit, the finale of the shoot. Frame the peaks with Nuptse and Pumori, and let the first rays set the summit glowing. Shoot a few frames in raw and bracket your exposures for the high contrast at sunrise. Then begin the long descent of about 16 km to beautiful Pangboche, a walk of seven to eight hours. In the afternoon, photograph the oldest monastery in the Khumbu. The thicker air makes the walk down feel light, and your tired legs will be glad of it.
Trekking: 7-8 hours
Meals:all mealsStay:teahouse
Day 11Trek to Namche via Mong La — Ama Dablam Reflections
Take the scenic high route via Mong La instead of the standard trail, for some of the best Ama Dablam angles in the valley. The day covers about 15 km and takes six to seven hours, with wide, open views and fewer trekkers than the main path. Stop often to compose the mountains with ridgelines and prayer flags in the foreground. Light changes fast on the pass, so check your exposure often. Arrive in Namche and celebrate with a shoot review over dinner, sharing favorite frames with your group and your guide. This is a good time to compare angles, swap tips, and see how each photographer saw the same mountains.
Trekking: 6-7 hours
Meals:all mealsStay:teahouse
Day 12Trek to Lukla & Fly to Kathmandu (Day 12 morning)
Walk about 19 km down to Lukla in six to seven hours, retracing the valley beside the Dudh Koshi, crossing suspension bridges and passing villages you now know well. Take a last few frames of prayer wheels and mani walls in the morning light. Then take the 138 km flight to Kathmandu, followed by a hotel transfer. Flights from Lukla depend on weather, so keep your plans flexible. In the evening, join a farewell dinner and a full-group image showcase, where everyone shares their five best shots from the journey. Back up your memory cards tonight, and enjoy seeing how twelve days in the mountains looks through each person’s eyes.
Trekking: 6-7 hours
Meals:all mealsStay:teahouse
Gallery
0 photosNo gallery images available for this tour.
Downloads
No downloadable files available for this tour.
4.715 reviews
5
0
4
0
3
0
2
0
1
0
No reviews yet. Be the first to review this tour!
Tour Video
No video available for this tour.
1 option available
Everest Photography Trek — 12 Days with Pro Photography Guide
Standard tour package with flexible dates
12 days
Guide: English
Select a date
1
$2,460
1 Adult × $2,460
Free cancellation
Cancel up to 24 hours in advance for a full refund
From
$2,460/person
Booking options
Choose a departure below, or use the availability calendar to select a flexible date. Availability and final pricing are confirmed during booking.