Why Is Annapurna a Photographer's Dream Destination?
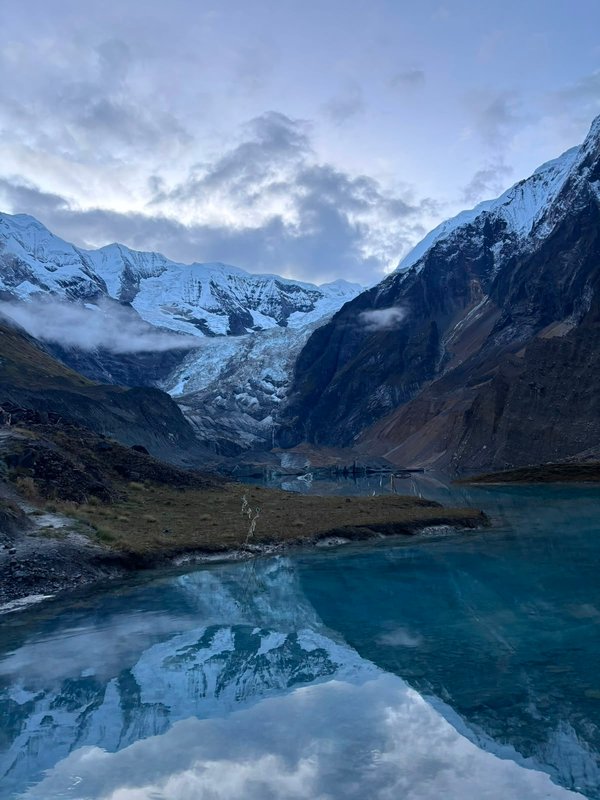
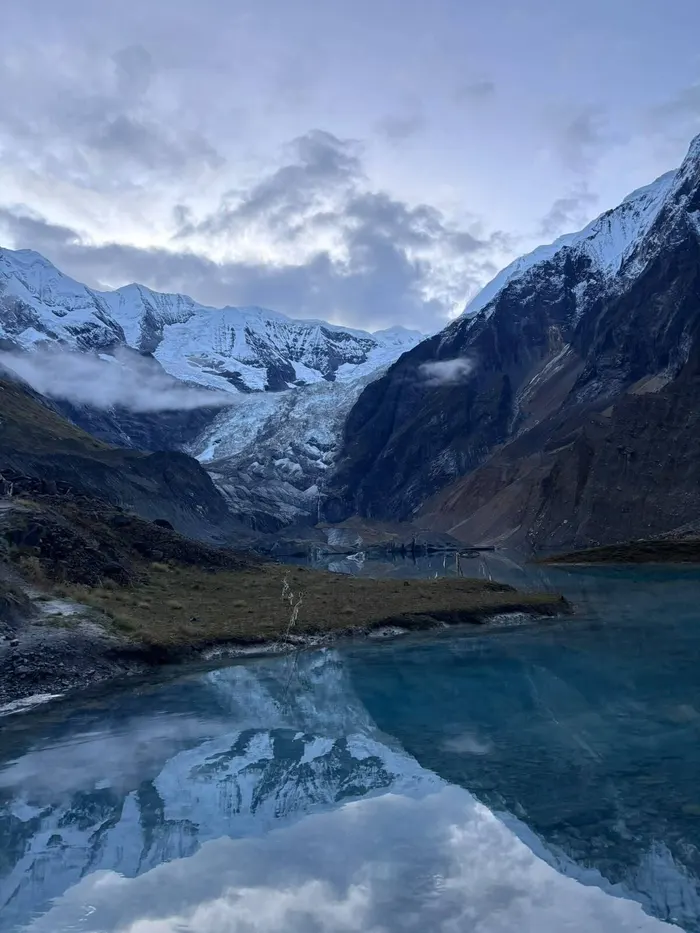
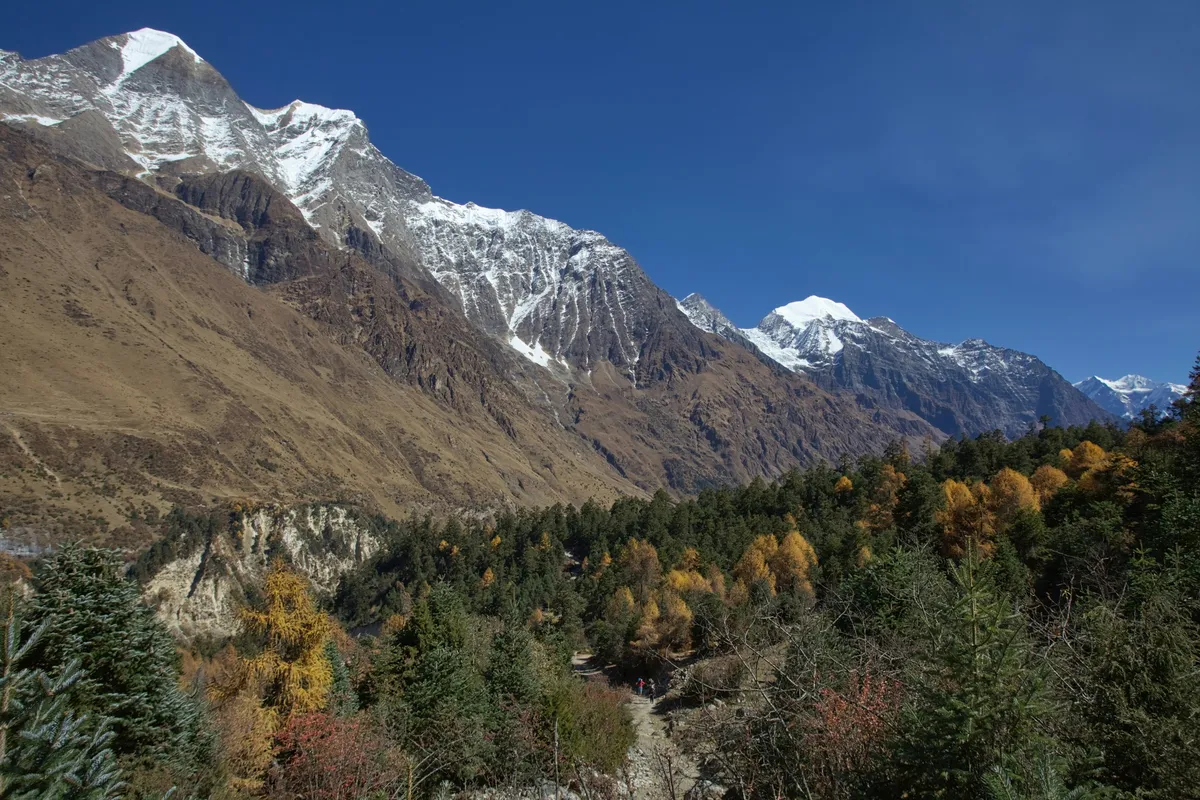
The Annapurna region is arguably the most photogenic trekking destination on Earth. In a single trek, photographers can capture subtropical valleys, terraced rice fields, rhododendron forests in bloom, high-altitude deserts, glacial moraines, and some of the most dramatic mountain panoramas in the Himalaya. The range includes Annapurna I (8,091 metres), the sacred Machhapuchhre (Fishtail), the towering Dhaulagiri, and the deep Kali Gandaki Gorge, the deepest on the planet. The Annapurna region offers an extraordinary variety of light, landscape, and culture that makes every day on the trail a new photographic opportunity, whether you carry a professional DSLR or a smartphone.
What Camera Gear Should You Bring for an Annapurna Trek?
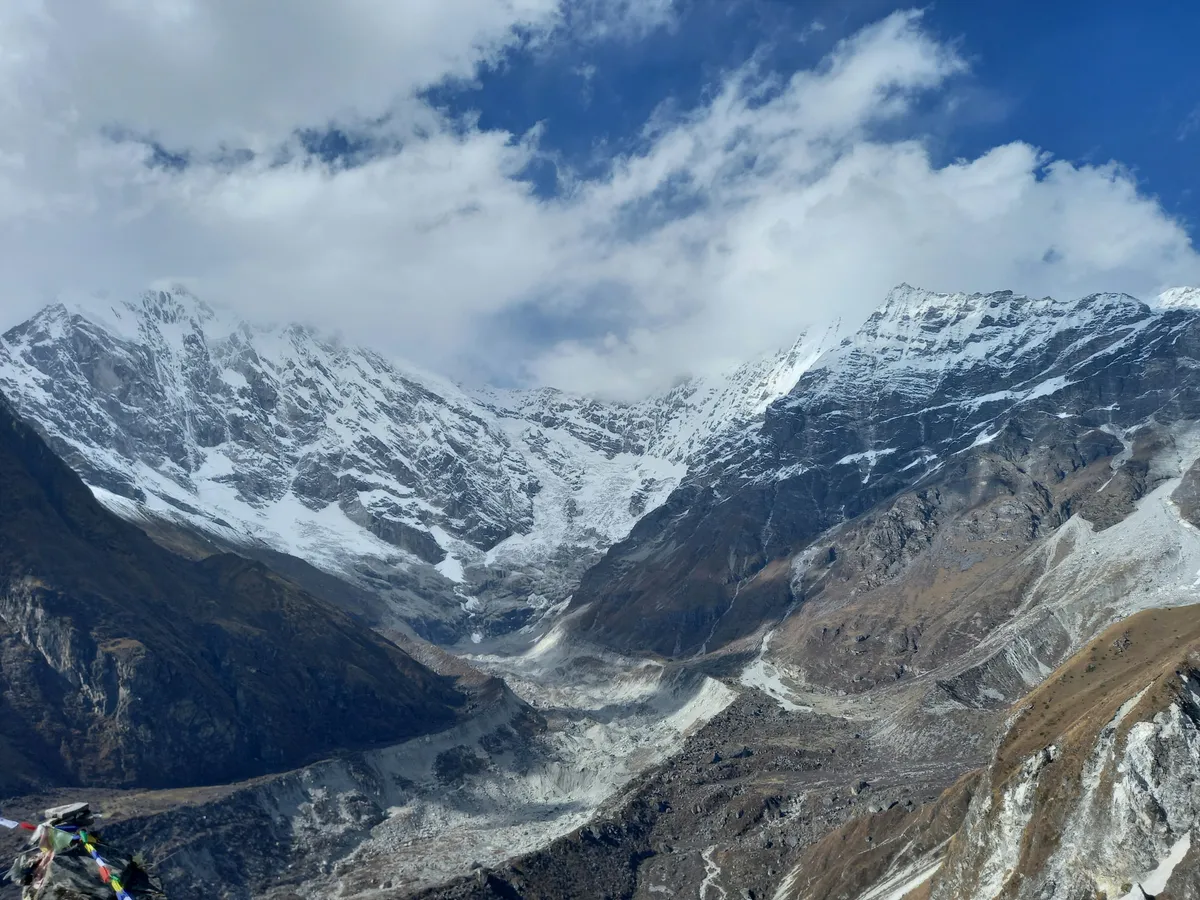
The right camera gear for Annapurna balances capability with weight. A mirrorless camera with a versatile zoom lens (24-105mm or equivalent) covers 90 percent of trekking photography. A wide-angle lens (16-35mm) is essential for the vast landscapes of the Annapurna Sanctuary and the Thorong La pass. A lightweight tripod is critical for golden-hour shots at Poon Hill and long exposures at Base Camp. Pack spare batteries (cold drains them faster), a polarising filter for snow and glacier scenes, and lens cleaning cloths for dust. A good camera bag with rain cover protects gear during afternoon showers. For those wanting a guided photography experience, the Annapurna Photography Trek is designed around optimal shooting times.
Where Are the Best Photography Locations in the Annapurna Region?
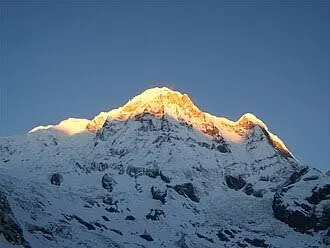
Several locations in the Annapurna region are iconic for photography. Poon Hill at 3,210 metres offers the classic Himalayan sunrise panorama with Annapurna South, Machhapuchhre, and Dhaulagiri aligned in golden light. Sarangkot above Pokhara provides a pre-trek dawn shoot over Phewa Lake with the Annapurna range behind. Annapurna Base Camp at 4,130 metres is a natural amphitheatre of snow walls, offering 360-degree mountain compositions. The Muktinath area on the Circuit provides dramatic trans-Himalayan landscapes with prayer flags and ancient monasteries. Upper Mustang offers desert-like terrain with wind-eroded cliffs and Tibetan Buddhist culture unlike anywhere else in Nepal.
How Do You Capture the Perfect Sunrise at Poon Hill?
The Poon Hill sunrise is the most photographed scene in the Annapurna region, and preparation is key. You will wake at 4:30 AM and hike 45 minutes up a well-marked trail to the viewpoint at 3,210 metres. Arrive at least 30 minutes before sunrise (around 5:45 to 6:15 AM depending on season) to secure a position at the crowded viewpoint. Use a tripod for sharp images in low light. The first light hits the peaks of Dhaulagiri and Annapurna South, turning them gold and pink before the sun reaches the valley floor. A graduated neutral density filter helps balance the bright sky with the darker foreground. Bracket exposures for HDR if conditions are extreme. The Ghorepani Poon Hill Trek is timed to ensure you are there for this moment.
What Settings Work Best for Mountain Photography in Annapurna?
Mountain photography in the Annapurna region demands specific technical approaches. For landscapes, use a small aperture (f/8 to f/11) for maximum depth of field, with a low ISO (100 to 200) for the cleanest image. For golden hour, shoot in RAW to preserve dynamic range. At altitude, UV light is intense, so a UV or polarising filter is essential. For sunrise and sunset, use a tripod and shutter speeds of 1 to 30 seconds for silky effects on moving clouds or water. For the prayer flags and cultural scenes in villages like Ghorepani and Ghandruk, a wider aperture (f/2.8 to f/4) separates subjects from busy backgrounds. At Annapurna Base Camp, the 360-degree amphitheatre of peaks benefits from panoramic stitching, so shoot overlapping frames with a 50mm lens for the highest resolution.
When Is the Best Season for Photography in the Annapurna Region?
The two prime photography seasons are autumn (October to November) and spring (March to April). Autumn delivers the clearest air of the year after monsoon rains wash the atmosphere, producing razor-sharp mountain views and deep blue skies. The light is clean, crisp, and directional. Spring brings warmer temperatures and the rhododendron bloom, when the Annapurna foothills turn red and pink, adding vivid foreground colour to mountain compositions. Winter (December to February) offers pristine snow conditions and very clear air but extremely cold mornings at altitude. The monsoon (June to September) brings dramatic cloud formations and moody light to the lower trails, though mountain views are often obscured. For Upper Mustang, the monsoon season is actually ideal because it sits in the rainshadow.
How Do You Photograph People and Culture on the Annapurna Trail?
The Annapurna trails pass through Gurung, Magar, and Thakali communities whose villages, festivals, and daily life are as photogenic as the mountains. Always ask permission before photographing people, particularly in villages and monasteries. A smile and a simple gesture go a long way; your guide can help translate. Portraits work best with a longer lens (85mm to 135mm) and natural light, positioned near a window or in open shade. Capture daily scenes: women carrying firewood, farmers tending terraced fields, children playing near lodges, and monks turning prayer wheels. The markets and teahouse kitchens of Ghorepani and Ghandruk are rich in detail. Be respectful of religious ceremonies and always ask before photographing inside monasteries or temples.
What Are the Challenges of Photography at Altitude in Annapurna?
Photography at altitude in the Annapurna region presents specific challenges. At Annapurna Base Camp (4,130 metres) and Thorong La (5,416 metres), cold temperatures drain batteries rapidly, so keep spare batteries in inner pockets close to your body. Condensation is a real issue when moving from cold outdoors to warm lodges; allow your camera to warm gradually in a sealed bag to prevent fogging on the lens and sensor. Wind at high passes can make tripods unstable, so use a weighted camera bag hung from the centre column. UV light is intense, requiring sunscreen and eye protection even when looking through a viewfinder. The photography trek package builds in time for these challenges, with flexible daily schedules that accommodate weather and light conditions.
Can You Do a Dedicated Photography Trek in Annapurna?
Yes. The Annapurna Photography Trek: 11 Days Golden-Hour ABC and Poon Hill is purpose-built for photographers. It combines the Poon Hill sunrise with Annapurna Base Camp, timing arrivals at each viewpoint for optimal golden-hour shooting. The itinerary includes extra time at photographic locations, flexible departures to catch the right light, and a guide who understands the needs of photographers. This trek is ideal for serious enthusiasts and professionals who want to maximise their image output from the Annapurna region. The route covers the most photogenic landscapes in the region, from the rhododendron forests of the lower trails to the glacial amphitheatre of the Annapurna Sanctuary.
How Do You Photograph the Annapurna Circuit's Diverse Landscapes?
The Annapurna Circuit with Tilicho Lake offers the most diverse landscape photography in Nepal. The trek starts in subtropical green valleys, passes through rhododendron and pine forests, climbs to the arid trans-Himalayan terrain around Muktinath, crosses the 5,416-metre Thorong La, and reaches Tilicho Lake at 4,919 metres, one of the highest lakes in the world. Each ecosystem demands different approaches: lush valleys benefit from wide-angle compositions with foreground interest, the high desert suits minimalist compositions with strong geometric patterns, and Thorong La calls for dramatic wide shots with prayer flags and cairns. Pack graduated filters for the intense contrast at high altitude and be prepared for rapidly changing weather that can transform a scene in minutes.
What Smartphone Photography Tips Work for Annapurna Treks?
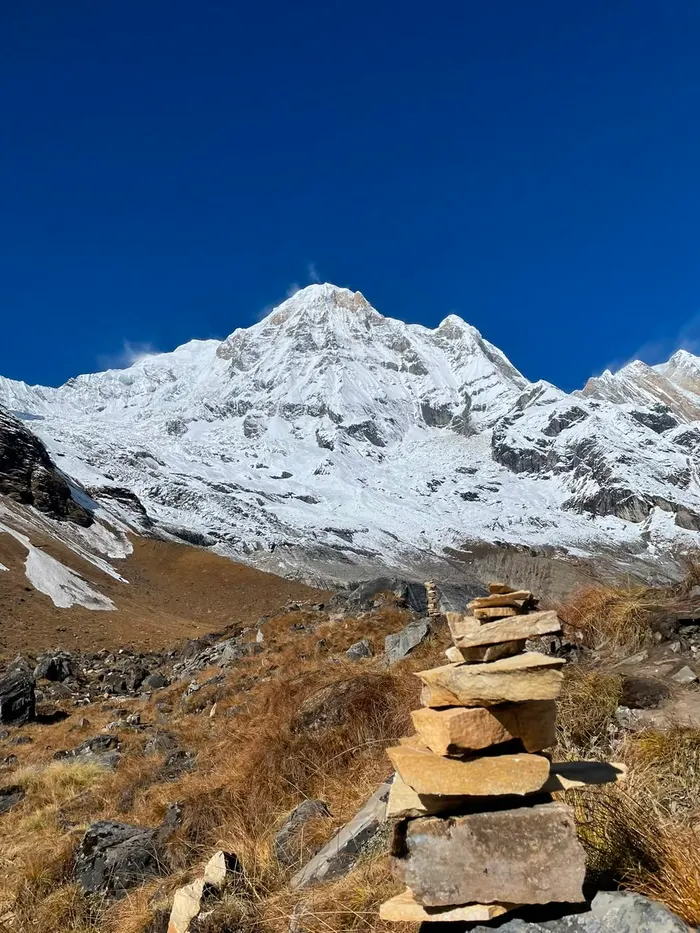
Not everyone carries a professional camera, and modern smartphones are remarkably capable for Annapurna trekking photography. Use the phone's panorama mode for wide mountain vistas at Poon Hill and Annapurna Base Camp. HDR mode helps balance the bright sky with darker valleys. For sunrise and sunset, tap to focus on the brightest peak and lock exposure before shooting. Keep the lens clean, as dust is pervasive on the trail. A lightweight phone tripod and Bluetooth shutter release enable long exposures and stable time-lapses. Several photography apps offer manual control over ISO, shutter speed, and white balance, giving smartphone photographers more creative control. The Sarangkot viewpoint above Pokhara is an excellent location for smartphone panoramas before the trek even begins.
How Do You Protect Your Camera Gear on the Annapurna Trail?
Protecting camera equipment on the Annapurna trail is critical. Dust, rain, cold, and altitude all pose risks to sensitive gear. Use a dedicated camera bag with a rain cover and internal padding. Silica gel packets inside the bag absorb moisture when moving between cold outdoor air and warm lodge environments. A UV filter on each lens provides a cheap sacrificial layer against dust and scratches. Keep memory cards in a waterproof case and back up images each evening if you carry a lightweight storage drive or laptop. The teahouses along the Annapurna trails offer charging for a fee, so carry a power bank as backup. For the Annapurna Circuit, cold at Thorong La can freeze LCD screens, so keep cameras insulated inside your jacket when not shooting.
How Do You Edit Annapurna Trek Photos for Maximum Impact?
Post-processing elevates Annapurna trek photos from good to extraordinary. Shoot in RAW to preserve maximum detail for editing. In Lightroom or similar software, start with basic adjustments: exposure, contrast, white balance, and highlights. Mountain images often benefit from increased clarity and dehaze to cut through atmospheric haze. Enhance the warm tones of sunrise at Poon Hill by pushing the temperature slightly warmer. For cultural portraits, soften shadows and warm skin tones gently. Panoramas stitched from multiple frames need careful blending. Avoid over-processing: the natural beauty of the Annapurna region needs little enhancement. A subtle vignette can draw attention to the centre of the frame for sunrise compositions. Export at high resolution for printing, as Annapurna panoramas make stunning large-format prints.
Frequently Asked Questions
Do I need a professional camera for Annapurna photography?
No. While a mirrorless or DSLR camera with a wide-angle lens gives the best results, modern smartphones are remarkably capable. Use panorama mode for wide vistas, HDR for high-contrast scenes, and tap-to-focus for sunrise shots. The key is being in the right place at the right time, which the Annapurna Photography Trek ensures regardless of your camera equipment.
Where is the best sunrise photography spot in Annapurna?
Poon Hill at 3,210 metres is the iconic sunrise location, offering a panorama of Annapurna South, Machhapuchhre, and Dhaulagiri in golden light. Arrive 30 minutes before sunrise with a tripod. Sarangkot above Pokhara is another excellent sunrise spot, with Phewa Lake in the foreground. Both are accessible and require early starts.
How do I protect my camera from cold and dust on the trail?
Use a camera bag with a rain cover and internal padding. Silica gel packets absorb moisture when moving between cold and warm environments. Keep spare batteries in inner pockets, as cold drains them fast. A UV filter protects the lens from dust. Allow the camera to warm gradually in a sealed bag when entering a warm lodge to prevent condensation.
Can I charge my camera batteries on the Annapurna trail?
Yes, most teahouses offer charging for a fee (typically 200 to 500 NPR per charge). However, charging becomes more expensive and less reliable above 3,000 metres. Carry a power bank of at least 10,000 mAh as backup, and bring spare batteries for your camera. Solar chargers are an option for longer treks like the full Annapurna Circuit.
What is the best season for photography in the Annapurna region?
Autumn (October to November) offers the clearest air and sharpest mountain views after the monsoon. Spring (March to April) adds blooming rhododendrons as colourful foregrounds. Winter provides pristine snow and very clear air but extreme cold. For Upper Mustang, the monsoon season (June to September) is ideal because it sits in the rainshadow and stays dry.
Is there a dedicated photography trek in Annapurna?
Yes. The Annapurna Photography Trek (11 days) is specifically designed for photographers, timing arrivals at Poon Hill and Annapurna Base Camp for golden-hour shooting. The itinerary includes flexible daily schedules to accommodate changing light conditions and a guide who understands photographers' needs. It covers the most photogenic locations in the region.