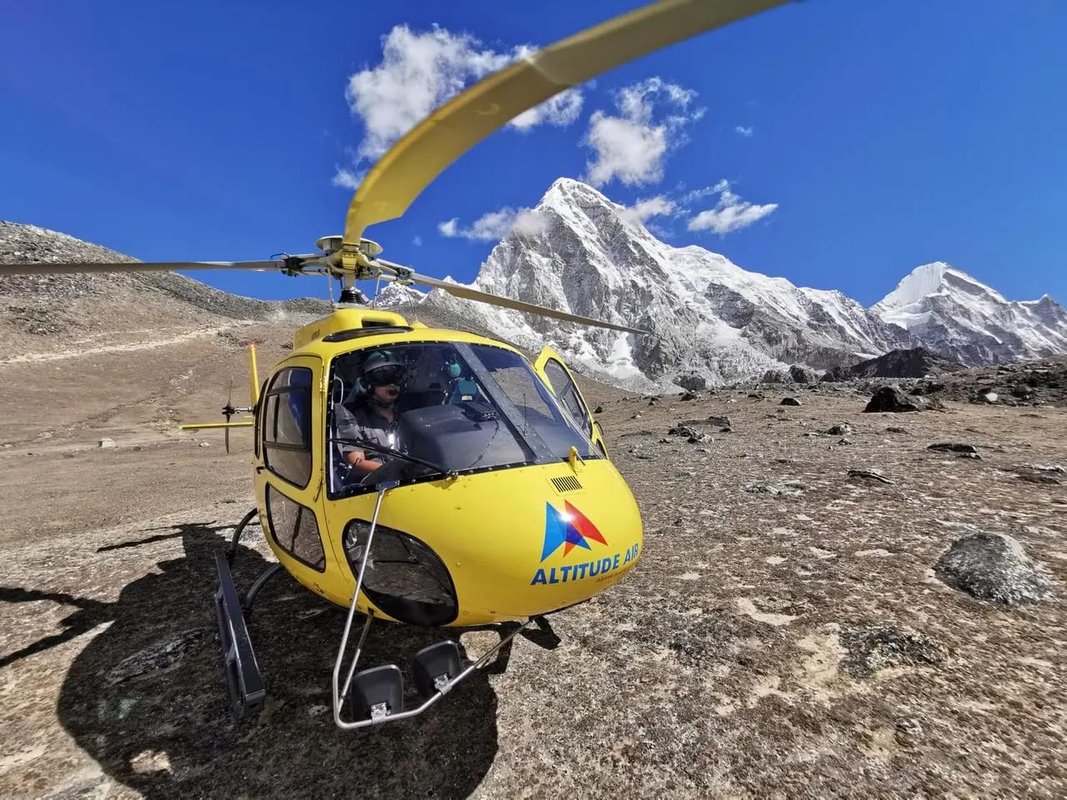
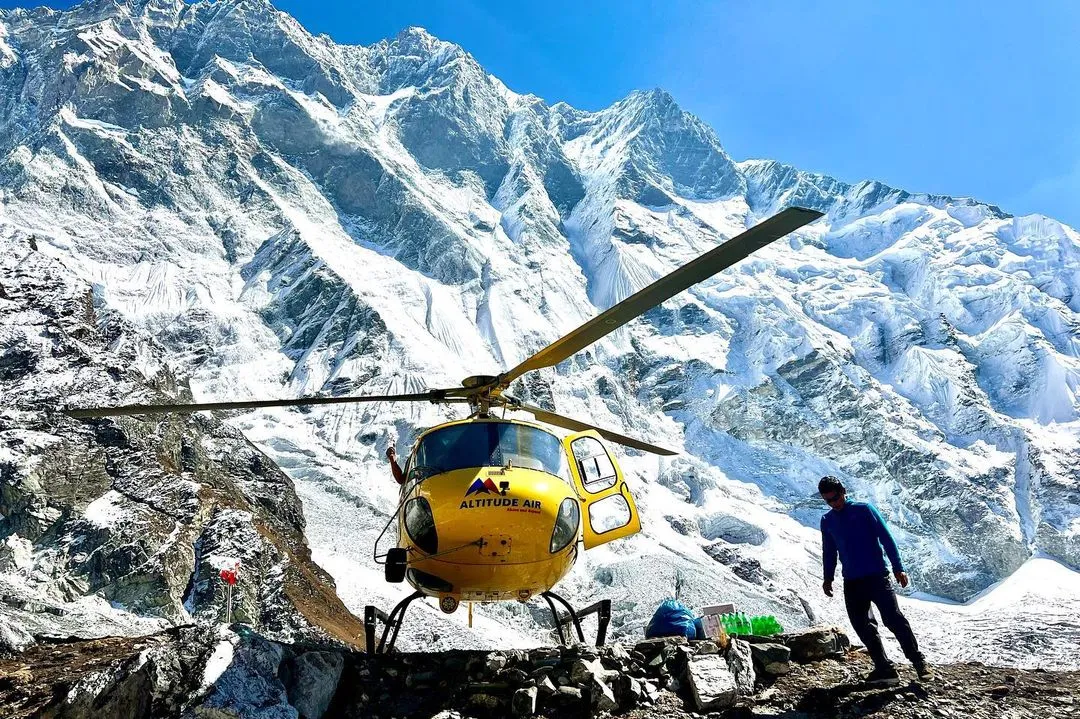
A helicopter tour in Nepal is unlike any other travel experience. Within minutes, you transition from the subtropical heat of Kathmandu at 1,400 metres to the thin, crisp air of the high Himalaya at 5,500 metres. The temperature swing can exceed 30 degrees Celsius. The wind at a landing zone like Kala Patthar bites through inadequate layers in seconds. Getting your clothing and gear right is not about comfort alone - it determines whether you enjoy the flight or spend it shivering in the cabin, whether you capture the shot of a lifetime or miss it because your camera battery died in the cold.
This guide covers everything you need to wear and pack for a helicopter tour in Nepal, broken down by season, route, and practical reality. It draws on years of operating helicopter tours in Nepal and the hard-won lessons of guides, pilots, and thousands of travellers who have flown these routes before you.
Understanding the Environment You Are Flying Into
Before you pack a single item, understand what you are walking into. A typical helicopter tour follows this altitude profile:
- Kathmandu departure: 1,400 metres - temperature 15 to 25 degrees Celsius depending on season
- Cruising altitude: 4,000 to 5,500 metres - temperature minus 10 to minus 20 degrees Celsius
- Landing zone (Everest Base Camp / Kala Patthar): 5,364 to 5,550 metres - wind chill can push effective temperature below minus 25
- Time at landing zone: 15 to 30 minutes - you are stationary, exposed, and at maximum altitude
- Return flight: Gradual descent, warming steadily
The cabin of an Airbus H125 is heated, but the heat is directional and the doors may be opened briefly at the landing zone for photos. You will feel the cold the moment you step out. The wind at 5,500 metres is not a breeze - it is a sustained force that strips heat from any exposed skin.
The Layering System: Your Core Strategy
Layering is not a suggestion for Himalayan helicopter tours. It is the only way to manage a 30-degree temperature range in a two-hour window. Three layers, each with a specific job:
Base Layer: Moisture Management
Your base layer sits against your skin. Its only job is to move sweat away from your body. Even in freezing temperatures, you can sweat inside a heated helicopter cabin or while walking at the landing zone. Cotton kills here - it holds moisture and turns clammy. Choose merino wool or synthetic blends designed for high-output activity in cold environments.
- Top: Long-sleeve merino wool (150 to 200 gsm) or synthetic thermal
- Bottom: Merino wool or synthetic long underwear
- Avoid: Cotton t-shirts, cotton underwear, denim against skin
Merino has the advantage of odour resistance if you are on a multi-day trip, but a quality synthetic base layer from brands like Patagonia Capilene, Arc'teryx Rho, or Icebreaker works equally well for a single flight.
Mid Layer: Insulation
This is your primary warmth layer. It traps the heat your body generates. Fleece, lightweight down, or synthetic insulated jackets all work. The key is packability - you need to stuff this layer into a small daypack when you are in the heated cabin.
- Best options: Lightweight down jacket (800+ fill power, 150 to 250g), synthetic insulated jacket (Patagonia Nano Puff, Arc'teryx Atom LT), or heavy-weight fleece (Polartec 200+)
- Fit: Trim enough to fit under your outer layer without restricting movement
- Two mid layers are better than one thick one: A light fleece plus a light down jacket gives you more temperature control than a single heavy sweater
Outer Layer: Wind and Weather Protection
Your shell blocks wind and precipitation. At 5,500 metres, wind is the primary threat. A waterproof breathable shell (Gore-Tex, eVent, or equivalent) is ideal, but a high-quality windbreaker with DWR coating works for the short exposure of a helicopter tour. The shell must have a hood that fits over a beanie.
- Must have: Hood, front zipper with storm flap, adjustable cuffs, hem drawcord
- Packability: Compresses to fist size
- Skip: Heavy ski jackets, non-breathable rain ponchos, fashion parkas without technical specs
Season-Specific Adjustments
Spring (March to May): The Most Forgiving Season
Spring offers the most comfortable flying conditions. Kathmandu mornings are mild (15 to 20°C). Landing zones are cold but manageable. The main challenge is the intense UV at altitude - the sun feels hot on your face even when the air is freezing.
- Base layer: Lightweight merino (150 gsm)
- Mid layer: Light fleece or light down
- Outer: Wind shell with hood
- Extras: High-SPF sunscreen, category 3 or 4 sunglasses, lip balm with SPF
Autumn (October to November): Crisp and Clear
Autumn is the second-best season. Post-monsoon air is clean, visibility is excellent, but temperatures are colder than spring, especially in late November. Mornings in Kathmandu can be 5 to 10°C.
- Base layer: Mid-weight merino (200 gsm)
- Mid layer: Down jacket or synthetic insulated jacket
- Outer: Waterproof breathable shell
- Extras: Warm beanie, insulated gloves, neck gaiter
Winter (December to February): Maximum Protection Required
Winter flights are spectacular - the air is crystalline, the mountains are at their most photogenic - but the cold is serious. Kathmandu mornings hover near freezing. Landing zone wind chill can reach minus 30°C. Daylight is short, so flights launch early when it is coldest.
- Base layer: Heavyweight merino or synthetic expedition weight (250+ gsm)
- Mid layer: Heavy down jacket (300g+ fill) PLUS fleece
- Outer: Expedition-grade waterproof breathable shell
- Extras: Insulated winter boots, heated glove liners, balaclava, chemical hand warmers (pack 4 to 6 pairs), insulated thermos with hot tea
Monsoon (June to September): Wet and Unpredictable
Monsoon helicopter tours are less common because weather cancellations are frequent. If you do fly, expect humid heat in Kathmandu (25 to 30°C) and wet, misty conditions at altitude. Waterproofing is the priority.
- Base layer: Lightweight synthetic (dries faster than wool when wet)
- Mid layer: Synthetic insulation (retains warmth when damp)
- Outer: Fully waterproof breathable shell with pit zips
- Extras: Waterproof pants, dry bags for electronics, quick-dry towel
Footwear: The Most Overlooked Item
You are not trekking. You will walk perhaps 50 metres at the landing zone. But those 50 metres are on uneven, potentially icy ground at 5,500 metres in wind that can knock you off balance. Your feet are your connection to the ground.
What Works
- Lightweight hiking boots: Broken-in, waterproof, with ankle support. The gold standard.
- Approach shoes: Sticky rubber soles, good for rocky landing zones, but less ankle support
- Insulated winter boots: Mandatory for winter flights (December to February)
What Fails
- Sneakers/trainers: No ankle support, poor grip on ice, zero insulation
- Sandals or casual shoes: Seen more often than you would believe. Do not be that person.
- Brand-new stiff boots: Blisters at 5,500 metres are a special kind of misery
Socks: Merino wool, mid-weight. Bring a spare pair in your daypack. If your feet get damp from sweat or snow, change at the landing zone.
Head, Hands, and Face: The Extremities That Suffer First
Headwear
- Beanie: Merino or fleece, must cover ears completely. Thin enough to fit under helmet if provided (most operators do not provide helmets for passengers).
- Neck gaiter or buff: Essential. The gap between your jacket collar and beanie is a heat leak. A buff pulls up over your nose and mouth for wind protection.
- Balaclava: Winter flights only. Full face coverage minus eyes.
Handwear
This is a two-glove system. You need dexterity for camera operation and warmth for standing at the landing zone.
- Liner gloves: Thin merino or synthetic touchscreen-compatible gloves. Wear these inside the cabin and for camera work.
- Shell gloves or mittens: Insulated, windproof, waterproof. Mittens are warmer than gloves. Put these on over liners at the landing zone.
- Chemical hand warmers: Pack 2 to 4 pairs. Activate before landing. Place inside mittens, not directly on skin.
Eye Protection
- Sunglasses: Category 3 or 4 lenses (very dark). Wraparound style blocks peripheral UV and wind. Polarized reduces glare off snow.
- Goggles: Winter flights or if you wear prescription glasses. OTG (over-the-glasses) models fit over spectacles.
- Glasses retainer strap: Non-negotiable. A gust at Kala Patthar will strip unsecured glasses off your face and into the Khumbu Glacier.
Camera and Electronics: Capturing the Shot Without Losing the Gear
The Himalaya from a helicopter is the most photogenic environment on earth. It is also the most hostile to electronics. Cold kills batteries. Vibration blurs long exposures. Condensation fogs lenses when you move between temperature zones.
Battery Management: The Single Biggest Failure Point
Lithium-ion batteries lose 30 to 50 percent of their capacity at minus 10°C. At minus 20°C, they can appear dead until warmed. The solution is simple but requires discipline:
- Carry batteries in an inner pocket against your body heat, not in your camera bag
- Bring 3 to 4 spare batteries for a two-hour flight
- Rotate: one in the camera, the rest warming against your chest
- Keep a spare in an insulated pouch with a chemical warmer
Camera Gear Checklist
- Primary camera: Whatever you shoot best with. Full-frame mirrorless (Sony A7R, Nikon Z7, Canon R5) or APS-C (Fuji X-T5, Sony A6700) both excel.
- Lenses: Wide zoom (16 to 35mm or 24 to 70mm equivalent) for landscapes, telephoto (70 to 200mm or 100 to 400mm) for peak detail. Prime wide (14mm, 20mm) for dramatic cabin shots.
- Action camera: GoPro or Insta360 mounted on a short selfie stick for video. Check operator policy - some restrict external mounts.
- Smartphone: Modern phones (iPhone 15 Pro, Samsung S24 Ultra, Google Pixel 8 Pro) produce publishable images in good light. Use as backup.
- Filters: Circular polarizer (reduces snow glare, deepens sky), ND grad (balances bright snow with darker foreground). Skip UV filters - they add flare.
- Cleaning kit: Microfiber cloths (3 to 4), lens pen, rocket blower. Condensation is inevitable.
- Storage: 256GB+ fast UHS-II cards. Shoot RAW + JPEG. Bring two cards.
Condensation Protocol
When you move from minus 15°C at the landing zone to plus 20°C in the cabin, your camera will fog instantly. The fix:
- Before re-entering the cabin, seal your camera in a ziplock bag or dry bag while still outside
- Let it warm slowly inside the bag for 15 to 20 minutes
- Only open once the camera has reached cabin temperature
- Silica gel packets in your camera bag help absorb residual moisture
Altitude Essentials: The Invisible Risk
A helicopter tour is not a trek. You do not acclimatize. You go from 1,400 metres to 5,500 metres in 30 minutes. Your body has no time to adapt. Most people feel only mild symptoms - headache, slight breathlessness, lightheadedness - during the 15 to 30 minutes at the landing zone. But a few develop acute mountain sickness (AMS) quickly.
Medications to Consider
- Acetazolamide (Diamox): 125mg twice daily starting 24 hours before flight. Prescription required. Reduces AMS incidence significantly.
- Dexamethasone: 4mg every 6 hours for treatment of AMS/HAPE. Carry only if prescribed by a travel medicine doctor.
- Ibuprofen: 400mg every 6 hours for altitude headache. Over-the-counter.
Consult a travel medicine specialist before your trip. Do not self-medicate based on internet advice.
Oxygen
All reputable operators carry portable oxygen cylinders on high-altitude flights (Everest, Annapurna, Gosaikunda). Ask your operator to confirm. A few breaths of supplemental O2 at the landing zone can transform a marginal experience into a comfortable one.
Hydration and Nutrition
- Drink 500ml to 1L of water in the 2 hours before departure
- Avoid alcohol the night before and morning of the flight
- Light breakfast: complex carbs, some protein, minimal fat. Porridge, eggs, toast, fruit.
- Pack electrolyte tablets or powder. Add to water bottle.
- Small snacks: nuts, chocolate, energy bars. Eat at the landing zone to maintain blood sugar.
Route-Specific Packing Adjustments
Everest Base Camp / Kala Patthar (5,364 to 5,550m)
Highest altitude, coldest temperatures, most extreme wind. Maximum insulation required. Every item in the winter checklist applies even in spring and autumn. Chemical hand warmers strongly recommended year-round.
Annapurna Base Camp (4,130m)
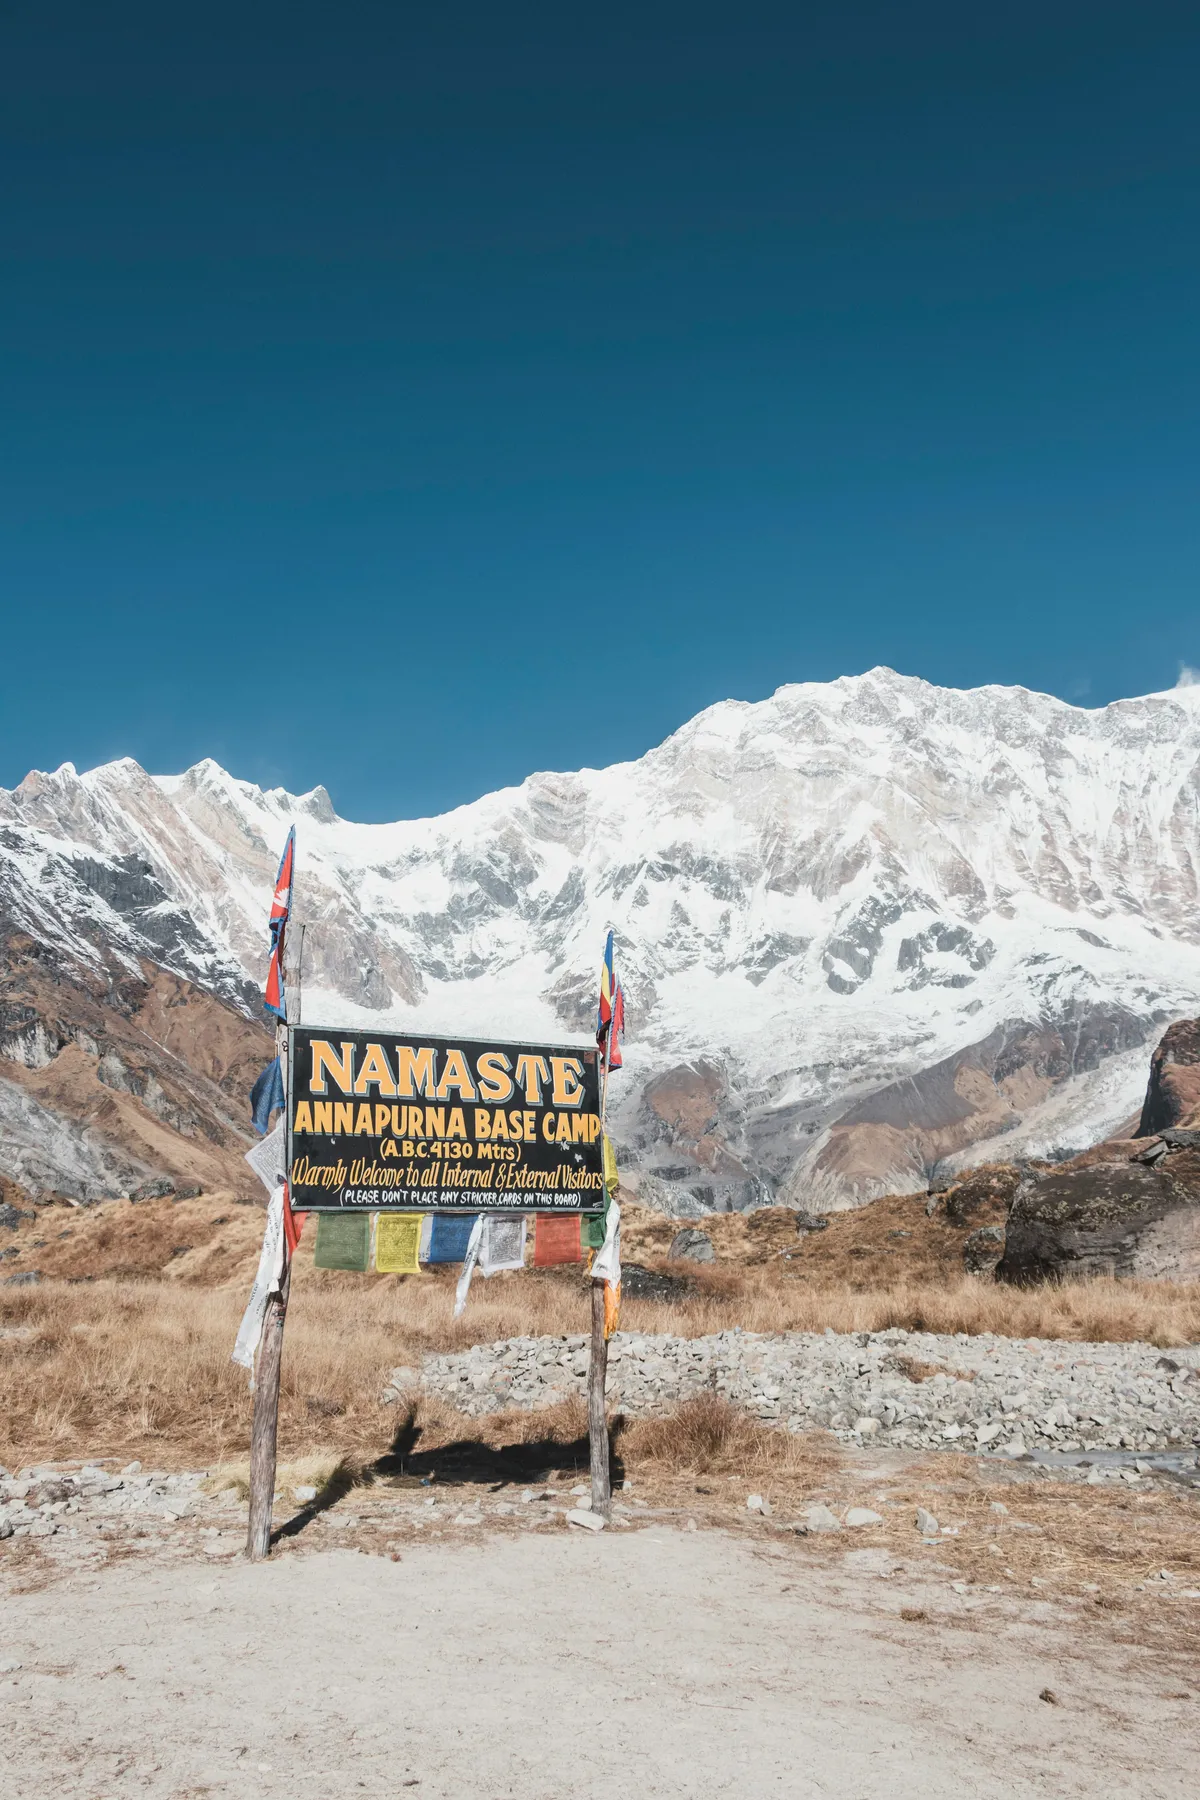
Lower altitude, slightly warmer, but the Modi Khola valley funnels wind. Afternoon cloud build-up means morning flights are standard. Layering same as Everest but you may shed the mid layer in the cabin.
Gosaikunda (4,380m)
Sacred lake landing. Shorter flight from Kathmandu (20 minutes each way). Less time at altitude. Still cold at the lake. Standard high-altitude kit works.
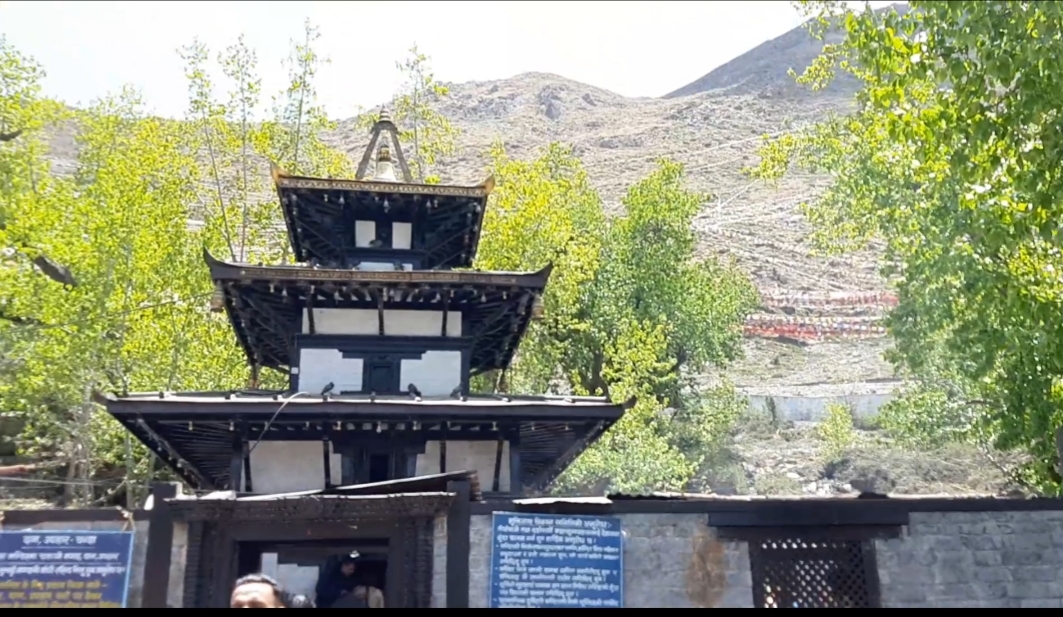
Muktinath (3,710m)
Lowest of the major heli destinations. Warmer, less wind. Pilgrimage focus means you may want modest clothing for temple visits. Light down jacket sufficient in spring/autumn.
Rara Lake (2,990m)
Longest flight (4 hours round trip). Lowest altitude. Mild temperatures. Focus on comfort for the long transit. Light layers, good headphones, neck pillow for the flight.
Daypack Contents: The 15-Item Essentials List
Everything below fits in a 15 to 20 litre daypack. Pack it the night before.
- Water bottle: 1L insulated (Hydro Flask, Yeti) or regular Nalgene with insulating sleeve. Filled with warm water.
- Snacks: 300 to 400 calories of dense food (nuts, chocolate, energy bars)
- Sunglasses + retainer strap
- Sunscreen SPF 50+: Travel tube (50ml). Reapply at landing zone.
- Lip balm SPF 30+
- Beanie
- Neck gaiter/buff
- Liner gloves
- Shell mittens/gloves
- Chemical hand warmers: 4 pairs minimum
- Camera + spare batteries (in inner pocket)
- Phone + portable charger
- Passport/ID (operators check before boarding)
- Cash (small bills): Tips for pilot/ground crew, emergency
- Medications: Personal meds, Diamox if prescribed, ibuprofen
What the Operator Provides (And What They Don't)
Knowing what is supplied prevents overpacking and gaps.
Typically Provided
- Pre-flight safety briefing
- Boarding assistance
- Supplemental oxygen (high-altitude flights)
- Seatbelts (4-point harness in H125)
- Headsets for pilot communication (some operators)
- Hot tea/coffee at Hotel Everest View (Everest flights with breakfast stop)
Typically NOT Provided
- Clothing layers of any kind
- Gloves, hats, sunglasses
- Camera gear
- Personal medications
- Water bottles (bring your own)
- Snacks
- Sunscreen
When in doubt, ask your operator at booking. Our booking guide covers the exact questions to ask.
Common Packing Mistakes (And How to Avoid Them)
| Mistake | Consequence | Fix |
|---|---|---|
| Wearing cotton base layer | Sweat chills you at altitude | Merino or synthetic only |
| Single heavy jacket instead of layers | Overheat in cabin, freeze at landing zone | Three-layer system |
| No glove system | Camera operation impossible with thick gloves; fingers freeze without | Liner + shell mittens |
| Batteries in camera bag | Dead batteries at landing zone | Batteries in inner pocket against body |
| No glasses strap | Glasses lost to wind | Retainer strap always |
| No chemical warmers (winter) | Numb fingers, miserable experience | Pack 4 to 6 pairs |
| Sneakers | Unstable on ice, cold feet | Broken-in hiking boots |
| Forgetting sunscreen | Severe facial burn at altitude | SPF 50+ tube in daypack |
Pre-Flight Preparation Timeline
One Week Before
- Confirm booking details with operator: departure time, helipad location, contact number
- Check weather forecast for flight window (operator will monitor, but you should know the trend)
- Purchase any missing gear: merino base layers, chemical warmers, sunscreen
- If taking Diamox, start per doctor instructions (usually 24 hours before)
Night Before
- Pack daypack using the 15-item checklist above
- Charge all batteries: camera, phone, portable charger
- Format memory cards
- Set alarm for early departure (most Everest flights leave 6:00 to 6:30 AM)
- Light dinner, no alcohol, hydrate well
Morning of Flight
- Light breakfast 1.5 to 2 hours before departure
- Drink 500ml water
- Dress in base layer + mid layer (wear outer layer to helipad, pack in daypack)
- Boots on, socks merino
- Sunscreen on face, neck, ears, hands
- Daypack packed, zipped, by the door
- Passport/ID in accessible pocket
Special Considerations
Travelling with Children
Children feel cold faster than adults and communicate discomfort less clearly. Minimum age varies by operator (typically 2 to 5 years). For children:
- One extra layer compared to adults
- Mittens not gloves (easier to put on, warmer)
- Balaclava or neck gaiter that cannot be lost
- Chemical warmers in mittens and boots
- Snacks they actually like (familiar food reduces stress)
- Explain the experience in advance: loud noise, ear pressure, cold wind, short duration
Photographers and Content Creators
If photography is your primary goal, budget for a private charter. Shared flights give you 15 minutes at the landing zone with 4 to 5 other people in your frame. A private flight lets you choose the light, the angle, and the duration. Our shared vs private comparison breaks down the costs and creative control differences.
Travellers with Medical Conditions
Cardiovascular, respiratory, and neurological conditions can be exacerbated by rapid altitude exposure. Consult your physician and a travel medicine specialist. Choose lower-altitude routes (Muktinath, Rara) if altitude is a concern. Our seniors guide covers medical preparation in detail.
Packing Light: The Carry-On Only Strategy
Many travellers arrive in Nepal with only carry-on luggage. You can absolutely do a helicopter tour with carry-on only. The key items (merino base layers, down jacket, shell, boots) are the bulkiest. Wear your boots and heaviest layers on the plane. Pack the down jacket compressed in a stuff sack. Merino base layers roll to the size of a t-shirt. Shell jacket stuffs into its own pocket. The daypack is your personal item. Everything fits.
Sustainability Note: Pack Out What You Pack In
The high Himalaya has no waste management infrastructure. Every wrapper, bottle, and tissue you bring to a landing zone must leave with you. Operators provide waste bags, but bring a small ziplock for your personal trash. Do not leave offerings, prayer flags, or biodegradable items at landing zones - they accumulate and degrade the environment for future visitors.
Related Guides
Packing is one piece of the puzzle. Deepen your preparation with these related resources:
- Nepal Helicopter Tours: Complete Guide - every major route, landing option, and operator tier explained
- Helicopter Tour in Nepal Cost Guide - detailed pricing by route, season, and group size
- Best Time for Helicopter Tour in Nepal - month-by-month weather and visibility analysis
- Everest vs Annapurna Helicopter Tour - side-by-side comparison of Nepal's two most popular flights
- Helicopter Tours for Seniors - route selection and preparation for older travellers
- Shared vs Private Helicopter Tours - which option delivers the best value for your budget
- How to Book a Helicopter Tour in Nepal - step-by-step from inquiry to takeoff
- Everest Base Camp Helicopter Tour Guide - the definitive one-day Everest flight resource
- Helicopter Tour in Nepal Safety - pilot qualifications, aircraft standards, weather protocols, and insurance
Your helicopter tour in Nepal will be one of the most memorable hours of your travel life. The difference between a good experience and a great one often comes down to preparation. Pack with intention. Dress for the environment you are entering, not the one you are leaving. And when you are standing at 5,500 metres with Everest filling your vision, you will be glad you read this guide.