Few photography opportunities on Earth rival the experience of capturing the Himalayas from a helicopter. When you lift off from Kathmandu and the horizon fills with peaks rising above 8,000 meters, every shutter press feels like a once-in-a-lifetime frame. Yet without the right preparation, helicopter photography in Nepal can also produce a card full of blurry, washed-out, or poorly composed images that fail to convey the scale of what you witnessed. This guide covers everything you need to know to return home with gallery-quality photographs from your helicopter tour in Nepal, from camera settings and lens choices to seat selection and shot planning for each major flight route.
Whether you are booking a luxury Everest Base Camp helicopter tour with landing or an Annapurna Base Camp helicopter tour from Kathmandu, the photography principles remain the same. The difference lies in the terrain, lighting, and vantage points each route offers. We will walk through route-specific shot planning after covering the fundamentals that apply to every flight.
Why Helicopter Photography in Nepal Is Unique
Aerial photography from a helicopter is fundamentally different from shooting through an airplane window. Helicopters fly lower, slower, and can hover or circle, giving you angles that fixed-wing aircraft simply cannot access. In Nepal, this means you can photograph the sheer faces of peaks like Lhotse and Nuptse from eye level, capture the texture of glaciers at close range, and frame valleys and rivers in ways that reveal the geological forces that shaped the Himalayas.
The challenges are equally unique. You will be shooting through plexiglass windows that introduce reflections, distortion, and color shifts. The helicopter vibrates constantly, making sharpness a battle against motion blur. Altitude and cold affect both your body and your equipment. And the sheer speed at which the landscape passes means you often have seconds, not minutes, to compose a shot. Planning and practice are what separate good aerial images from great ones.
For a broader understanding of what to expect on these flights, including timing, weather windows, and cost breakdowns, our helicopter tour in Nepal cost guide covers the practical planning details, while our best time for a helicopter tour in Nepal guide breaks down visibility conditions month by month. Both are essential reading before you plan a photography-focused flight.
Camera Gear for Himalayan Helicopter Photography
Camera Bodies
A full-frame mirrorless or DSLR body is ideal for aerial Himalayan photography because the larger sensor captures more dynamic range, which matters when you are shooting snow-covered peaks under harsh sunlight. However, modern crop-sensor cameras (APS-C or Micro Four Thirds) are also perfectly capable, especially if you have good lenses. The key advantage of a second body is avoiding lens changes in a vibrating, cramped cabin. If you can bring two bodies, mount a wide-angle on one and a telephoto on the other.
If you are shooting with a smartphone, the latest flagship models can produce remarkable results, especially with their ultra-wide and telephoto lenses. However, you will have less control over settings and less reach for distant peaks. A smartphone is best used as a backup or for quick social media shots, not as your primary tool for serious aerial photography.
Lenses: What Focal Lengths Work Best
The ideal lens kit for helicopter photography in Nepal covers three ranges:
- Wide-angle (16-35mm or 24-70mm full-frame equivalent): Essential for capturing the sweep of mountain ranges, valley systems, and the horizon where multiple peaks line up. A 24-70mm zoom is the most versatile single lens for helicopter work because it covers wide landscapes and tighter compositions without needing a swap.
- Telephoto (70-200mm full-frame equivalent): Critical for picking out details on distant peaks, glacier formations, monasteries, and trails. A 70-200mm f/2.8 or f/4 gives you enough reach to isolate interesting features from the vast landscape. The compression effect of a telephoto also creates dramatic shots where peaks appear stacked behind one another.
- Ultra-wide (14-16mm): Useful for interior shots of the helicopter cabin and for dramatic foreground-heavy compositions when the helicopter is close to a cliff face or during landing. Use sparingly for landscape work, as ultra-wide lenses can make distant peaks look small.
Avoid super-telephoto lenses (300mm and beyond) unless you have image stabilization that can handle the vibration. At those focal lengths, even slight helicopter movement translates into significant image blur, and the plexiglass degradation becomes more pronounced.
Filters and Accessories
A circular polarizer (CPL) filter is the single most useful filter for helicopter photography. It cuts through the haze that hangs over the foothills, deepens the blue of the sky, and reduces reflections from snow and ice. However, a CPL also reduces light by 1-2 stops, so you may need to raise your ISO to maintain a fast enough shutter speed. Test your CPL on the ground before the flight to understand its effect at different angles.
A UV or clear protective filter is worth keeping on your lens at all times during the flight. The helicopter cabin can be dusty, and you do not want to risk scratching your front element while changing settings in a cramped seat. Skip neutral density filters unless you are specifically shooting video, as the light loss will force you into higher ISOs or slower shutter speeds that compromise sharpness.
Bring extra batteries. Cold temperatures at altitude drain batteries faster than normal, and you will be shooting continuously. Keep spare batteries in an inner pocket close to your body to keep them warm. A 64GB or 128GB memory card is sufficient for a single flight, but bring a backup card in case of corruption.
Camera Settings for Sharp Aerial Images
Shutter Speed: The Most Critical Setting
Shutter speed is the single most important setting for helicopter photography. The combination of helicopter vibration, forward motion, and the magnification of any movement by your focal length means you need fast shutter speeds to freeze the scene. As a general rule:
- At 24mm: minimum 1/1000s, ideally 1/1600s or faster
- At 70mm: minimum 1/1600s, ideally 1/2000s or faster
- At 200mm: minimum 1/2000s, ideally 1/3200s or faster
These speeds are significantly faster than the traditional reciprocal-of-focal-length rule because helicopter vibration adds a constant high-frequency movement that your hands cannot compensate for. If your camera or lens has image stabilization (IS, VR, or OS), turn it on, but do not use it as an excuse to slow your shutter speed. Stabilization helps with hand-held shake but cannot fully counteract helicopter engine vibration.
Aperture and ISO
For aerial landscape photography, you want enough depth of field to keep both near and far elements sharp, but not so much that diffraction softens your image. An aperture between f/5.6 and f/8 is the sweet spot for most helicopter shots. At f/5.6, you get good sharpness and a slightly faster shutter speed. At f/8, you gain depth of field but lose a stop of light, which may push your ISO higher.
ISO should be set to whatever value is needed to achieve your target shutter speed and aperture. In the bright conditions typical of Himalayan flights (sunlit snow and clear sky), you can often shoot at ISO 200-400 with 1/1600s at f/5.6. In hazy or cloudy conditions, you may need ISO 800-1600. Modern sensors handle these ISO values cleanly, so do not be afraid to raise ISO in exchange for sharpness. A sharp but noisy image is always better than a clean but blurred one.
Shooting Mode
Shutter priority (Tv or S mode) is the most practical mode for helicopter photography. Set your shutter speed to 1/1600s or faster and let the camera adjust aperture and ISO automatically. If your camera has an auto-ISO feature with a maximum ISO setting, use it: set the upper limit to ISO 3200 and the minimum shutter speed to 1/1600s. This lets the camera adapt to changing light as the helicopter banks, turns, or passes through cloud shadows.
If you prefer full manual control, set shutter speed to 1/1600s, aperture to f/5.6 or f/6.3, and adjust ISO as needed. Check your histogram every few minutes to ensure you are not blowing out snow highlights, which is easy to do under direct high-altitude sun. Enable highlight warning (blinkies) on your LCD so you can catch overexposure immediately.
Focus Settings
Continuous autofocus (AF-C or AI Servo) is essential because the distance to your subject changes constantly as the helicopter moves. Set your focus point to the center or use a small cluster of points. Avoid wide-area or automatic focus point selection, as the camera may lock onto the plexiglass window instead of the mountains outside.
If your camera has subject tracking, experiment with it on the ground first. Some tracking systems struggle with the combination of window interference and rapidly changing scenes. When in doubt, center-point continuous focus is the most reliable approach.
White Balance and RAW Shooting
Shoot in RAW. This cannot be emphasized enough for helicopter photography. The plexiglass window introduces a color cast that varies with angle and lighting, and the dynamic range of snow-covered peaks under bright sun is extreme. RAW files give you the latitude to correct white balance and recover highlights or shadows in post-processing that JPEGs simply do not allow.
Set your white balance to Daylight or Auto. If you shoot RAW, the white balance setting does not matter much because you can adjust it later, but setting it close to the expected condition gives you a more accurate preview on the LCD. If you are shooting through a heavily tinted window, you may need to cool the white balance significantly in post-processing to remove the greenish or brownish cast.
Burst Mode
Shoot in continuous burst mode (high-speed). The landscape changes rapidly, and even at 1/1600s, micro-vibrations can cause subtle sharpness differences between frames. Shooting bursts of 3-5 frames per composition gives you options to choose the sharpest one later. It also helps with exposure bracketing if the dynamic range is extreme. Just be mindful of your buffer depth: if your camera slows down after 20-30 frames, let the buffer clear before the next composition.
Shooting Through Plexiglass: Minimizing Degradation
The plexiglass window is the biggest image quality barrier in helicopter photography. It introduces reflections, optical softness, scratches, and color shifts. While you cannot eliminate these effects entirely, you can minimize them with a few techniques.
First, get as close to the window as possible without touching it. The closer your lens is to the plexiglass, the less angle between the lens axis and the window surface, which reduces reflections. However, do not let your lens hood or filter ring touch the window, as helicopter vibration will transfer directly to the camera and ruin your shots. Maintain a gap of 1-2 centimeters.
Second, use a lens hood. A properly fitted lens hood blocks stray light from entering the gap between the lens and the window, which is the primary source of reflections. If you do not have a hood, cup your free hand around the gap between the lens and the window to create a makeshift gasket.
Third, wear dark clothing. Light-colored shirts reflect off the plexiglass and appear as ghost images in your photos. A dark jacket or shirt minimizes this effect. Some photographers bring a piece of black fabric or a dark scarf to drape over the camera and lens, creating a makeshift lens skirt that completely blocks reflections.
Fourth, avoid polarizers when shooting through thick or heavily curved plexiglass. A CPL filter creates interference patterns with the plexiglass that appear as rainbow bands in your images. If the window is relatively flat and thin, a CPL may work, but test it carefully. When in doubt, remove the polarizer and handle reflections with a lens hood and dark clothing instead.
Finally, accept that some images will show window artifacts. Scratches, dust, and optical imperfections in the plexiglass are beyond your control. In post-processing, you can minimize their impact with local contrast adjustments and careful cloning, but the best strategy is to shoot enough frames that you have alternatives when one is degraded by a window flaw.
Best Seats for Photography on a Himalayan Helicopter
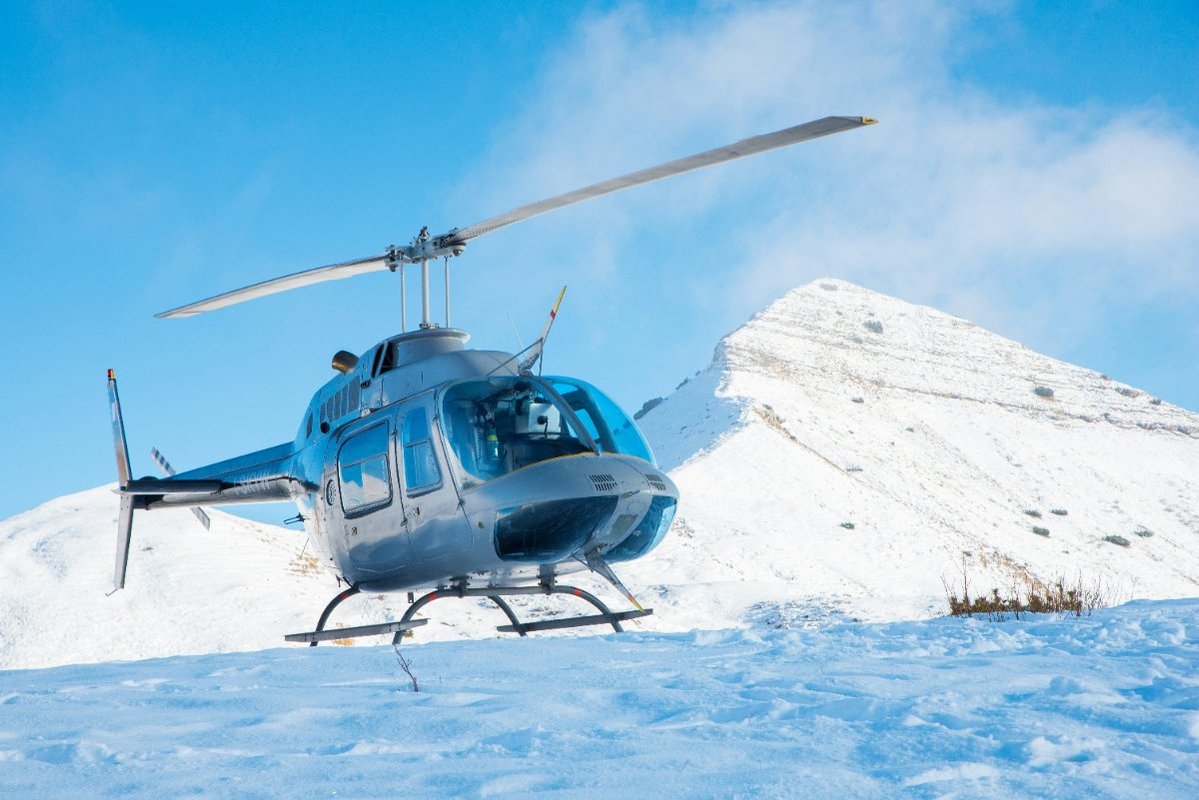
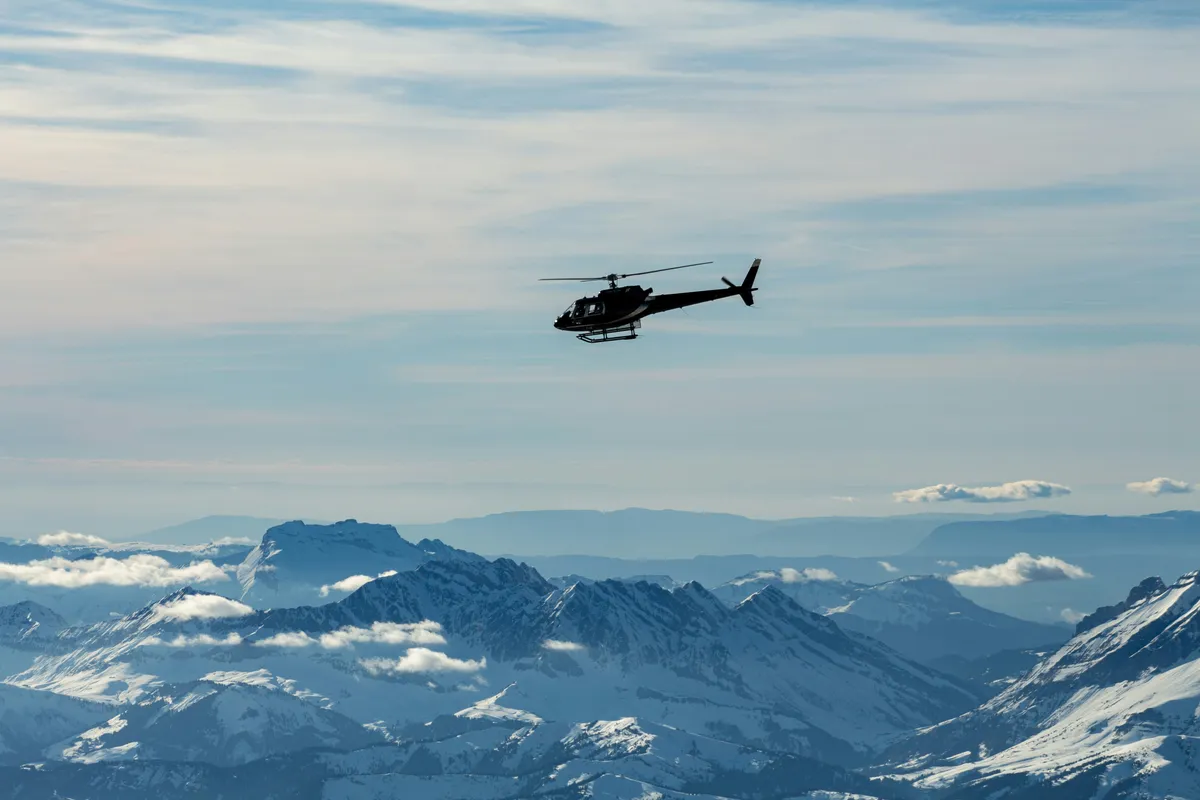
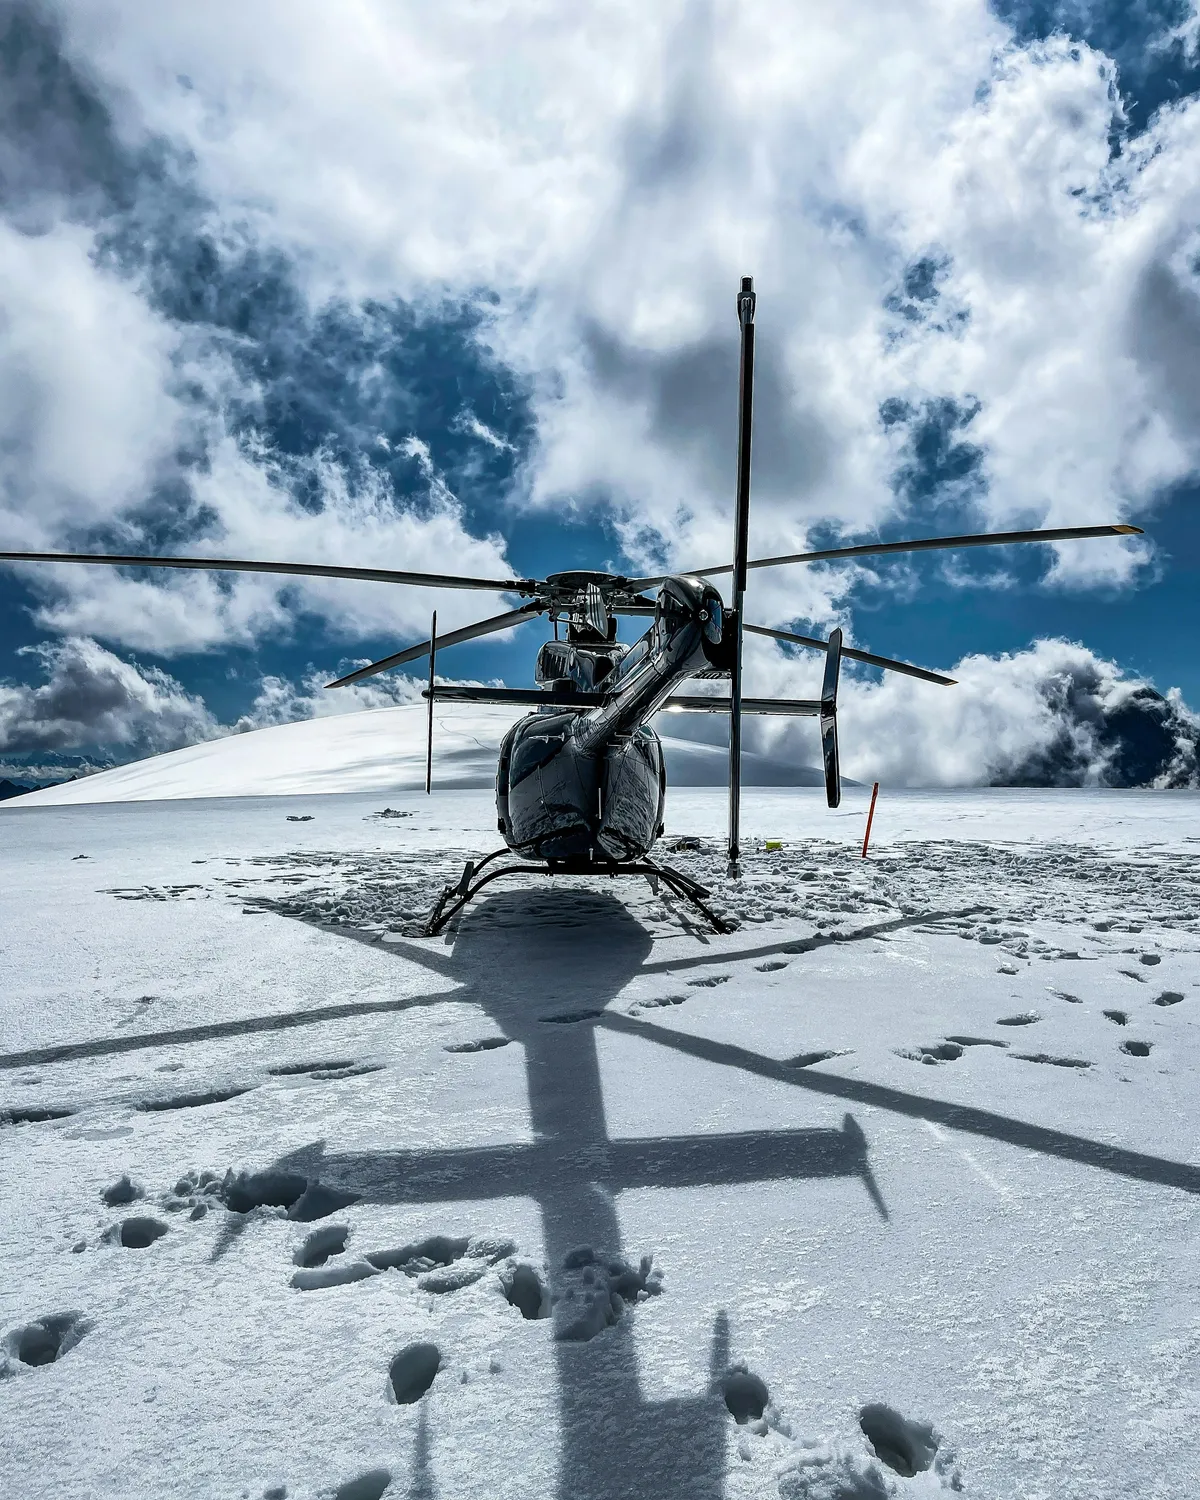
Seat selection can make or break your photography flight. In Nepal, most helicopter tours use AS350 B3e (Airbus Ecureuil) or similar 5-seat helicopters. The seating arrangement and window access vary by aircraft type, but the general principles are consistent.
Front Seat (Co-pilot Side)
The front co-pilot seat is widely considered the best seat for aerial photography. You get a wide, relatively flat windshield with minimal plexiglass curvature, unobstructed forward and side views, and no other passengers blocking your shooting angle. The front seat also offers the smoothest ride because it is closer to the center of gravity and farther from the tail rotor vibration.
However, the front seat is often reserved for the guide or a premium-paying passenger. If you are booking a shared flight, ask whether the front seat can be reserved. On private flights, you typically have more flexibility. If you are serious about photography, the front seat is worth the extra cost.
Rear Left Seat (Behind Pilot)
The rear left seat, directly behind the pilot, offers a good combination of side window access and forward visibility through the gap between the front seats. The window is typically larger than the front windshield, which is useful for wide-angle shots. The main drawback is that the pilot's seat and the instrument panel partially block your forward view, and the door hinge or frame can create a blind spot on the left edge.
This seat is ideal if you want to shoot both side and forward compositions. You can lean slightly toward the center to get a forward shot between the front seats, then turn to the window for side landscapes. The vibration is slightly more pronounced in the rear than in the front, so keep your shutter speed high.
Rear Right Seat (Behind Co-pilot)
The rear right seat mirrors the rear left in terms of window access. It is a solid choice for side photography, with the same limitations regarding forward view obstruction. On flights where the co-pilot seat is empty, you can sometimes lean forward to shoot through the front windshield for forward-facing compositions.
On Everest flights, the helicopter typically flies a clockwise or counter-clockwise circuit around the peaks. If the helicopter circles clockwise (turning right), the right-side seats face the mountains during the turn. If it circles counter-clockwise, the left-side seats have the mountain view. Ask your operator about the typical flight pattern when booking.
Middle Rear Seat
The middle rear seat is the least desirable for photography. You have no direct window access and must shoot past the passengers on either side, which severely limits your shooting angles and introduces more window edge distortion. If you end up in the middle seat, focus on forward shots between the front seats and communicate with your seatmates about timing your shots so you are not photographing over each other.
Requesting the Right Seat
When booking your helicopter tour in Nepal, specify that you are a photographer and ask about seat arrangements. On shared flights, seats are typically assigned on a first-come basis or by payment tier. On private flights, you can usually negotiate seating with your group. If you are traveling with a fellow photographer, consider booking a private flight so you can alternate between the front and rear seats on different legs of the journey.
For more information on booking logistics, read our step-by-step booking guide and our comparison of shared vs private helicopter tours to understand the trade-offs for photographers.
Route-Specific Shot Planning
Everest Base Camp Helicopter Tour Photography
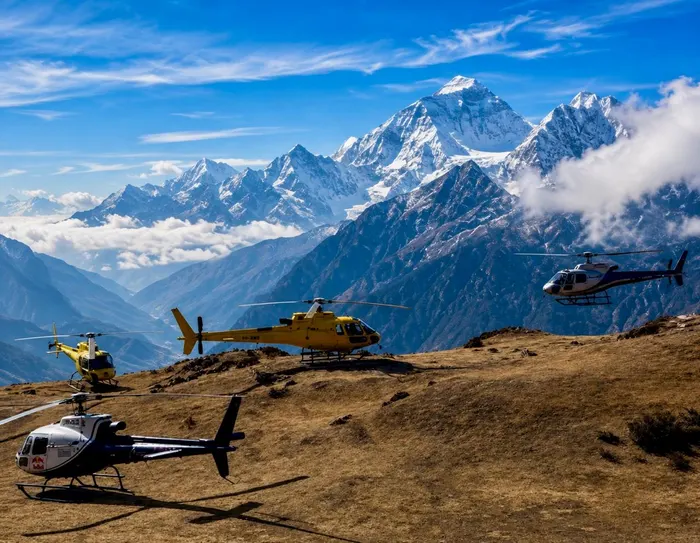
The Everest flight is the crown jewel of Himalayan aerial photography. Departing from Kathmandu, the helicopter follows the Dudh Koshi river valley through the foothills of the Khumbu region before emerging into the high-altitude amphitheater surrounding Everest. The flight typically passes Lukla, Namche Bazaar, Tengboche, and finally reaches Everest Base Camp and Kala Patthar.
Phase 1: Valley Approach (Kathmandu to Lukla). During the first 20-30 minutes, the landscape transitions from terraced farmland to deep river gorges and forested ridges. This is your opportunity for texture shots of the foothills, with the river winding through the valley floor. Use a 24-70mm lens to capture the sweeping valley views. The light is typically soft during the morning departure, which is ideal for retaining detail in both the valley floor and the ridgelines.
Phase 2: Khumbu Entry (Lukla to Tengboche). As the helicopter climbs above the treeline, the peaks of the Khumbu begin to emerge. Ama Dablam is the standout subject during this phase, with its distinctive pyramid shape. Switch to a 70-200mm lens to isolate Ama Dablam and the surrounding peaks. The helicopter will pass close enough to see individual glacier formations and high-altitude villages like Pangboche and Dingboche.
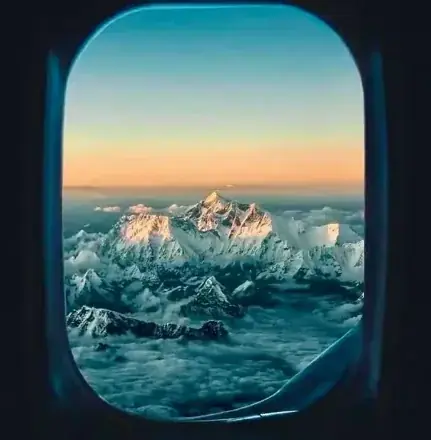
Phase 3: Everest Reveal (Tengboche to Kala Patthar). This is the climax of the flight. As the helicopter rounds the ridge near Tengboche, the full Everest massif comes into view: Everest, Lhotse, Nuptse, and the Khumbu Glacier flowing down from Base Camp. At Kala Patthar (the typical landing or hover point), you are at eye level with the upper reaches of Everest. Use your widest lens for the full massif panorama, then switch to telephoto to pick out details like the South Col, the Khumbu Icefall, and the summit pyramid.
If your flight includes a landing at Everest Base Camp or Hotel Everest View, use the ground time for a different kind of photography. The 360-degree panorama from Kala Patthar or Syangboche is best captured with a wide-angle lens and a panoramic sweep. If you are on the ground for breakfast at Hotel Everest View, shoot through the dining room window for a framed view of Everest that is one of the most iconic images from the region.
Annapurna Base Camp Helicopter Tour Photography
The Annapurna flight follows a different visual rhythm. Departing from Kathmandu or Pokhara, the helicopter crosses the middle hills before entering the Annapurna Sanctuary, a natural amphitheater surrounded by Annapurna I, Machhapuchhre (Fishtail), Hiunchuli, and Gangapurna. The sanctuary is narrower and more enclosed than the Khumbu, which creates dramatic close-range compositions.
Phase 1: Middle Hills and Pokhara Valley. If departing from Kathmandu, the flight crosses the Marsyangdi river valley and the Lamjung district before reaching Pokhara and Phewa Lake. The aerial view of Pokhara with the lake and the Annapurna massif rising behind it is a classic shot. Use a wide-angle lens for the lake and city, then switch to telephoto for the distant peaks.
Phase 2: Sanctuary Entry. The helicopter enters the Modi Khola gorge and climbs steeply into the sanctuary. The walls of Hiunchuli and Machhapuchhre rise on either side, creating a sense of enclosure that is unique among Himalayan flights. This is the moment for dramatic vertical compositions showing the sheer scale of the peaks relative to the valley floor. A 24-70mm lens captures the full height of the walls, while a 70-200mm isolates interesting features like hanging glaciers and avalanche chutes.
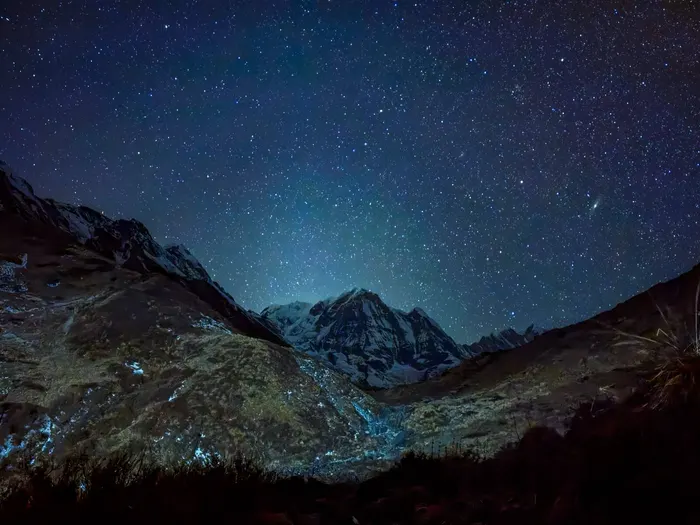
Phase 3: Annapurna Base Camp Overflight. At the head of the sanctuary, the helicopter hovers or circles near Annapurna Base Camp at approximately 4,130 meters. The 360-degree view includes Annapurna I (8,091m), Gangapurna, Glacier Dome, and Machhapuchhre. This is the best location for panoramic images. Shoot a series of overlapping frames for later stitching into a high-resolution panorama. If your flight includes a landing, the ground-level views of the surrounding peaks are extraordinary, with the south face of Annapurna I dominating the skyline.
For a detailed comparison of the two routes from a traveller's perspective, see our guide comparing the Everest vs Annapurna helicopter tour. Photographers should note that the Everest flight offers more dramatic peak height and the iconic summit view, while the Annapurna flight offers closer-range, more intimate mountain compositions with better lighting flexibility due to the sanctuary's east-west orientation.
Gosaikunda and Muktinath Flights
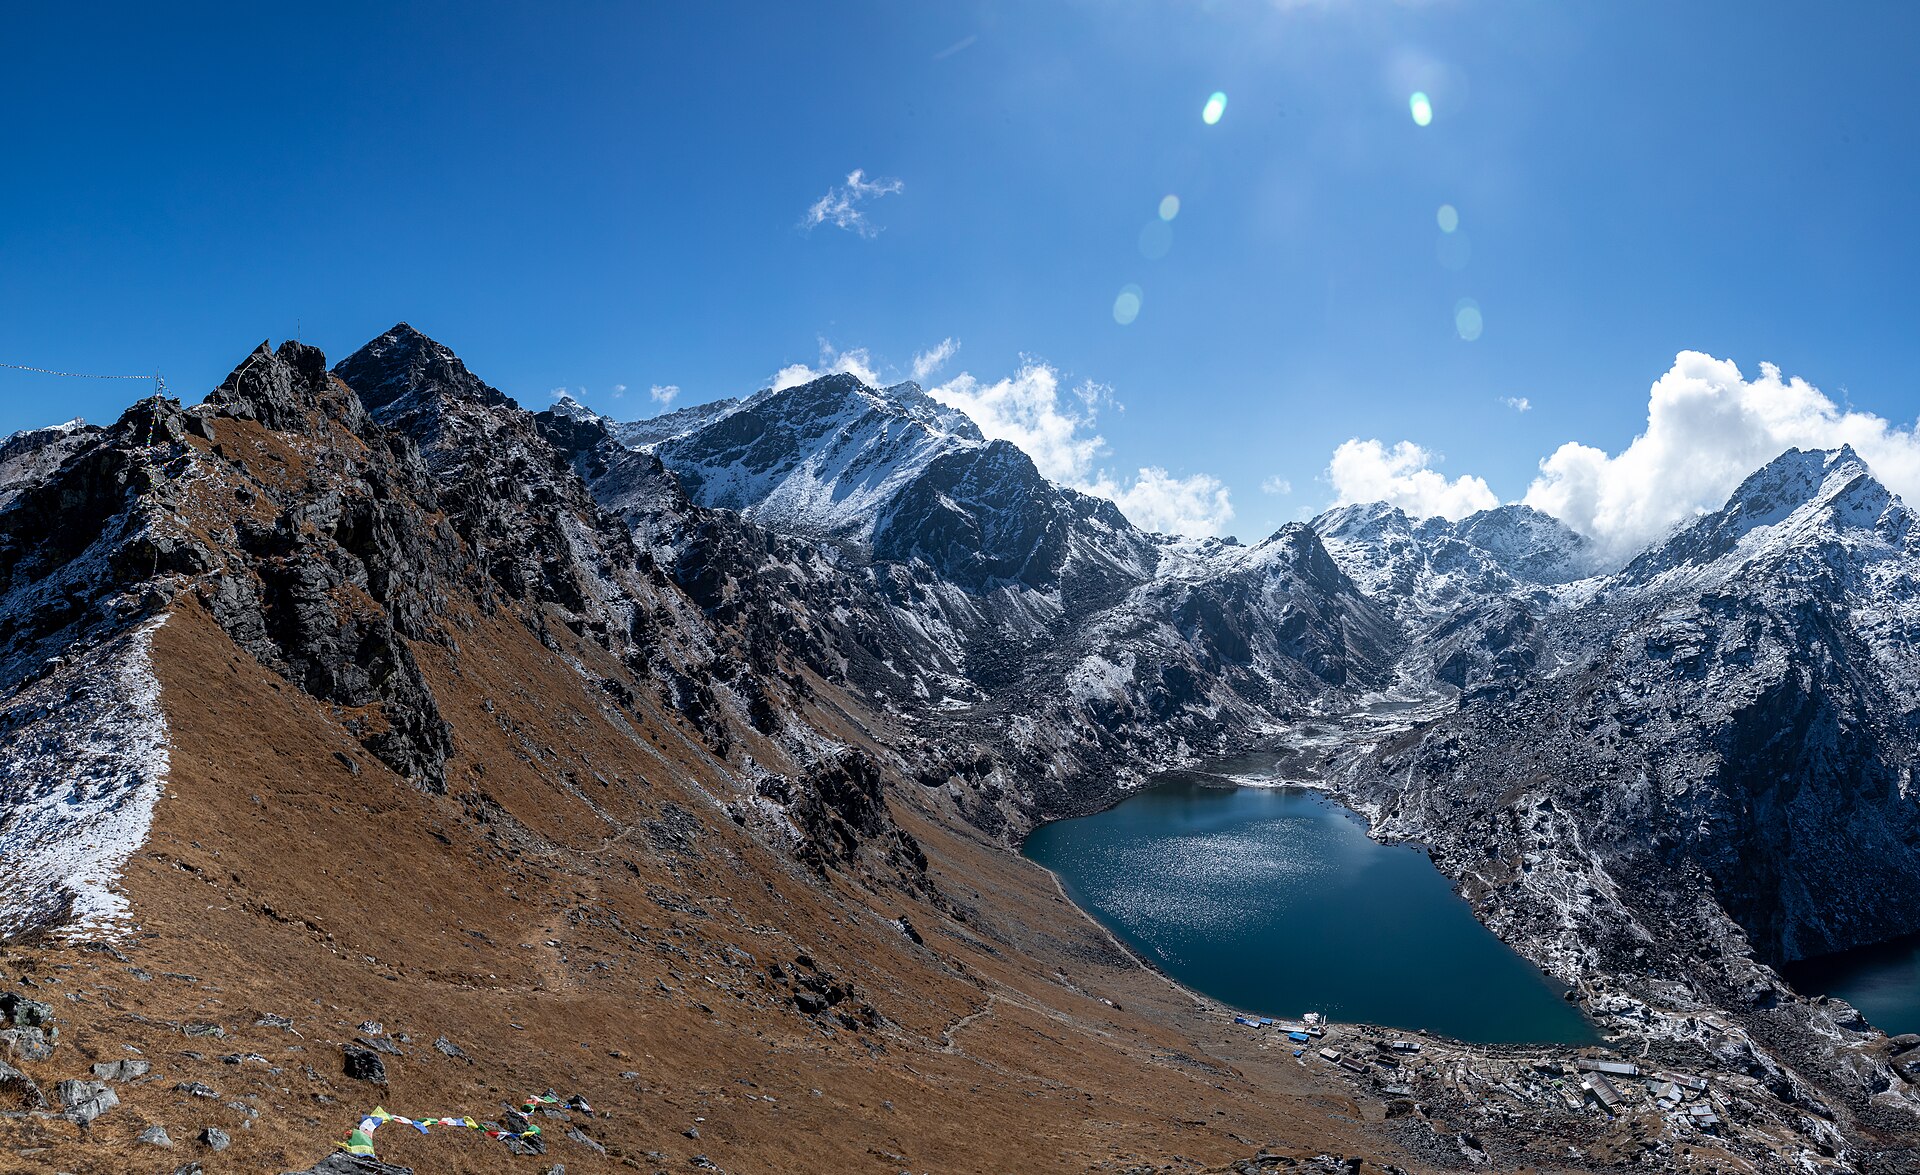
For the Gosaikunda helicopter tour, the key photographic subject is the sacred lake complex at 4,380 meters. The flight from Kathmandu is short (approximately 20 minutes), crossing the Langtang range before descending to the lake. The best shots capture the contrast between the deep blue of the lake and the surrounding barren peaks. Morning light is ideal because it illuminates the eastern shore and the reflection on the lake surface. Use a polarizer to enhance the water color and cut reflections from the surface.
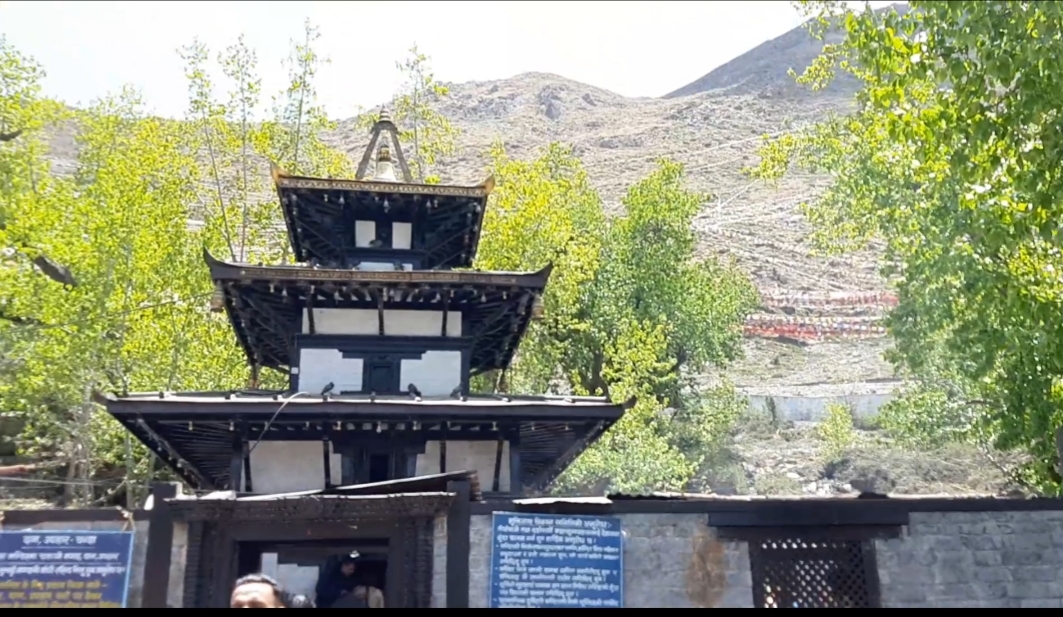
For Muktinath flights, the photographic highlight is the transition from the green Kali Gandaki valley to the arid Mustang landscape. The approach to Muktinath passes through the world's deepest gorge (between Dhaulagiri and Annapurna) before emerging into the rain-shadow region. The color shift from green to brown to ochre is a striking visual narrative. Capture it with a series of wide-angle shots showing the transition, then zoom in on the Muktinath temple complex and the 108 water spouts.
Lighting and Timing for Aerial Himalayan Photography
Morning vs Afternoon Flights
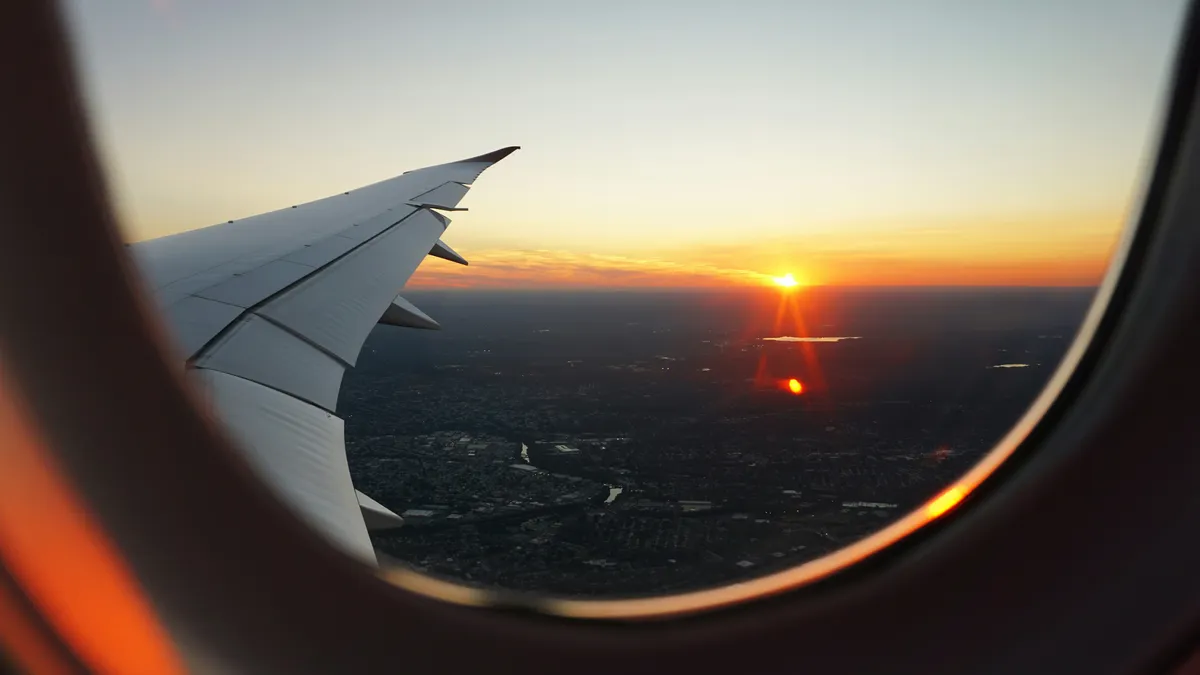
Most helicopter tours in Nepal depart in the early morning (6:00-8:00 AM) because winds are calmer and visibility is best before afternoon cloud buildup. For photography, morning light is generally superior because it is softer, more directional, and produces warmer tones on the east-facing aspects of the peaks. The low sun angle also creates longer shadows that reveal the texture and topography of glaciers and ridgelines.
Afternoon flights are less common but can produce dramatic light when the sun drops lower and casts golden light on the west-facing aspects. However, by midday, the direct overhead sun creates flat, high-contrast lighting that is challenging for landscape photography. Snow surfaces become blindingly bright, and shadow detail is lost. If you must fly at midday, use your histogram to monitor exposure carefully and consider exposure bracketing for high-dynamic-range blending in post.
Golden Hour at Altitude
The golden hour at Himalayan altitudes is shorter and more intense than at sea level. At 5,000+ meters, the atmosphere is thinner, so the transition from golden light to harsh daylight happens in minutes, not the 30-40 minutes you might expect in the lowlands. If your flight is timed for sunrise, the first 10-15 minutes of light on the peaks are the most photogenic. The summits of peaks like Everest and Annapurna catch the first sunlight while the valleys below remain in blue shadow, creating a dramatic color contrast that is one of the most sought-after images in mountain photography.
Alpenglow, the pinkish-red light that appears just before sunrise and just after sunset on high peaks, is visible from the helicopter if your flight timing aligns. This phenomenon is most pronounced on clear mornings with minimal haze, typically in the post-monsoon season (October-November) or pre-monsoon season (March-April). Our month-by-month visibility guide identifies the best windows for alpenglow conditions.
Clouds and Haze
Clouds are both a challenge and an opportunity for aerial photography. A clear blue sky is the easiest condition to shoot in but can produce flat, featureless backgrounds. Scattered clouds add drama and depth to your compositions, casting moving shadows across the landscape and providing texture in the sky. However, overcast conditions reduce contrast and saturate colors in a way that can make images look dull. If the sky is heavily overcast, focus on tighter compositions that exclude the sky and emphasize the mountain texture and glacier formations.
Haze is the more persistent problem in Nepal, particularly during the pre-mono season (May-June) and post-monsoon transition (September). Haze creates a bluish-white veil that reduces contrast and mutes colors. A polarizer helps cut through haze, but the most effective solution is to shoot at the highest altitudes where the air is thinner and cleaner. The foothills and valley approaches are typically the haziest sections of the flight, while the high-altitude amphitheaters above 4,000 meters are usually clear.
Composition Techniques for Aerial Mountain Photography
Scale and Foreground
One of the hardest things to convey in aerial mountain photography is scale. Without a ground-level reference, an 8,000-meter peak can look like a modest hill. To communicate scale, include foreground elements in your composition: a glacier, a ridge, a river, or even another peak. A helicopter shadow on a glacier or a tiny village visible in a valley provides a human reference point that anchors the viewer's sense of proportion.
When the helicopter is close to a peak, use a wide-angle lens and position the peak to fill the upper third of the frame, with a valley or glacier filling the lower third. This vertical composition emphasizes height and creates a sense of vertiginous scale that flat landscape photography cannot match.
Leading Lines and Diagonal Compositions
Aerial views reveal geological patterns that are invisible from the ground. River valleys, glacier tracks, and ridge lines form natural leading lines that guide the viewer's eye through the image. When composing, look for diagonal lines created by valley systems or ridge patterns and align them to run from one corner of the frame toward the main subject. Diagonal compositions are more dynamic than horizontal or vertical ones and convey the energy of the landscape more effectively.
Glaciers are particularly effective leading lines because their textured surfaces create visual interest at every scale. The Khumbu Glacier flowing from Everest Base Camp, the Annapurna Sanctuary glaciers, and the Langtang Glacier all provide strong compositional lines when photographed from above.
Framing and Window Edge Management
When shooting through a helicopter window, the window frame and door structure can inadvertently appear in your images. Be conscious of where the edge of the window is relative to your lens. If you are shooting wide, the window frame may be visible as a dark band at the edge of the frame. This can sometimes be used intentionally as a framing element, but more often it is a distraction. Zoom in slightly or crop the image to exclude the frame.
If you are in a helicopter with sliding doors (common on some photography-specific flights in Nepal), you may be able to shoot without a window at all. This eliminates all plexiglass-related issues but requires a safety harness and careful equipment management. If your operator offers an open-door flight, take it. The image quality difference is dramatic, and the ability to shoot freely in any direction transforms the experience.
Post-Processing Tips for Helicopter Images
Dehaze and Clarity
The Dehaze slider in Lightroom or Camera Raw is your best friend for helicopter photography. Even on clear days, the atmosphere between you and the peaks introduces a subtle haze that reduces contrast. A moderate Dehaze adjustment (+15 to +25) restores punch without creating unnatural halos. Follow up with a Clarity adjustment (+10 to +20) to enhance mid-tone contrast and bring out the texture of rock, ice, and snow.
Be careful with Dehaze on images that include sky. Pushing Dehaze too far can turn blue sky into an unnatural dark blue band. Use a graduated filter or radial mask to apply Dehaze selectively to the landscape while protecting the sky.
White Balance Correction
If you shot through tinted plexiglass, your RAW files may have a greenish or warm color cast. Use the White Balance eyedropper on a neutral surface (gray rock, white snow in shadow) to correct the cast. If the entire image has a cast from the window, adjust the Temperature and Tint sliders globally. Compare the corrected image with your memory of the scene to ensure the colors look natural rather than over-corrected.
Shadow and Highlight Recovery
The dynamic range of snow-covered peaks under direct sun is extreme. Even with careful exposure, you may have blown highlights on sunlit snow and crushed shadows in north-facing gullies. Use the Highlights slider to recover detail in bright snow (pull to -50 or beyond if needed) and the Shadows slider to open up dark areas (+30 to +50). If the dynamic range exceeds what a single RAW file can hold, use exposure blending with bracketed frames.
Sharpening and Noise Reduction
Despite fast shutter speeds, helicopter vibration can introduce a subtle softness to your images. Apply moderate sharpening in post-processing (Amount 40-60, Radius 0.8-1.0 in Lightroom). For images shot at higher ISO values (800+), apply luminance noise reduction (+10 to +25) before sharpening. Use the masking feature on sharpening (hold Alt/Option while sliding the Masking slider) to limit sharpening to edges and avoid amplifying noise in smooth areas like sky and snow.
Smartphone Photography Tips for Helicopter Tours
Not everyone brings a dedicated camera on a helicopter tour, and modern smartphones are capable of producing impressive aerial images if you use them correctly. Here are the key tips for smartphone helicopter photography:
Clean your lens before the flight. Fingerprints on a phone lens are the most common cause of soft, hazy images. Wipe the lens with a microfiber cloth before takeoff and avoid touching it during the flight.
Lock focus and exposure. Tap and hold on the screen to lock focus and exposure on a mountain peak, then use the exposure slider to adjust brightness. This prevents the phone from constantly refocusing on the plexiglass window or overexposing snow.
Use burst mode. Hold the shutter button to capture a burst of images. The vibration makes single shots risky, and bursts give you multiple frames to choose from. This is especially important when using the telephoto lens on newer phones, which magnifies vibration.
Avoid digital zoom. Digital zoom degrades image quality significantly because it crops the sensor rather than using optical magnification. Use the telephoto lens (2x or 3x) if your phone has one, but avoid zooming beyond that. If you need more reach, crop in post-processing where you have more control.
Shoot in RAW if your phone supports it. Many flagship phones now support RAW capture through their native camera app or third-party apps like Lightroom Mobile. RAW files give you the same white balance and dynamic range advantages as a dedicated camera.
What to Wear and Bring for a Photography Flight
The practical aspects of a helicopter photography flight in Nepal deserve attention. Temperatures at altitude can drop to -10 to -15 degrees Celsius even during the flight, and the cabin is not heated. Wear multiple layers that you can adjust, including a warm jacket, gloves with touchscreen-compatible fingertips (or fingerless gloves that allow dexterity for camera controls), and a warm hat. Dark-colored clothing is best for minimizing window reflections.
For a comprehensive packing checklist specifically for helicopter tours, see our what to wear and pack guide. Photographers should add the following to that list:
- Extra camera batteries (at least 2 spares, kept warm in inner pockets)
- Lens cleaning cloth and blower (for dust and condensation)
- Small camera bag or backpack that fits in the cabin footwell
- Wrist strap or neck strap for your camera (to prevent dropping it in the cabin or out the window)
- Portable power bank for charging phone or camera between flights
If you are planning a photography-focused trip to Nepal that combines helicopter tours with ground-based trekking photography, our complete guide to trekking in Nepal and our cultural and spiritual tours guide provide the broader context for planning a multi-day photography itinerary that covers both aerial and ground-level perspectives.
Common Mistakes to Avoid
Shooting Too Slow
The most common technical mistake in helicopter photography is using a shutter speed that is too slow. Even experienced photographers who know the reciprocal rule often underestimate how much helicopter vibration affects image sharpness. If your images look soft despite what seems like a fast shutter speed, increase it further. There is no downside to shooting at 1/3200s if the light allows it.
Ignoring the Histogram
Snow under high-altitude sun is one of the most challenging exposure situations in photography. Your camera's LCD is unreliable for judging exposure because it auto-brightens in dark conditions and can make blown highlights look acceptable. Check your histogram regularly and enable highlight warnings. The goal is to have detail in the brightest snow areas without crushing the shadows in valleys and north faces.
Changing Lenses in Flight
Swapping lenses in a vibrating, cramped cabin is risky. Dust can enter the sensor, and a dropped lens cap or lens can cause damage or injury. If you must change lenses, do it during a stable portion of the flight (such as a landing or hover) and keep the camera body pointed downward to minimize dust entry. Ideally, bring two camera bodies to avoid lens changes entirely.
Shooting Only Wide
It is easy to get swept up in the grandeur of the Himalayas and shoot every frame at 24mm. While wide-angle panoramas are stunning, they can become repetitive. Mix in telephoto shots that isolate individual peaks, glacier formations, and geological details. The compression effect of a telephoto lens creates a different sense of scale and drama that wide-angle shots cannot achieve. Aim for a mix of approximately 60% wide-angle and 40% telephoto images in your final set.
Forgetting to Enjoy the Experience
Photographers on helicopter tours often spend the entire flight looking through their viewfinder, only to realize afterward that they never actually looked at the mountains with their own eyes. Take moments during the flight to put the camera down and absorb the experience. The memory of seeing Everest or Annapurna from above is worth more than any photograph, and those quiet moments of observation often inform your best compositions when you do pick the camera back up.
Ready to capture the Himalayas from above? Contact Us to plan your photography-focused helicopter tour, or browse all Nepal tour options to combine your aerial adventure with a ground-level cultural or trekking experience. For travellers who want to understand the full range of helicopter experiences available, start with our complete Nepal helicopter tours guide and plan your flight around the best visibility windows identified in our month-by-month weather and visibility guide.